
Part II - Connections and scanning software
“But first how do I plug it in?” That’s the cheeky question I ended my last post with and of course, that bit is easy but what is not so straightforward is how to connect an old Coolscan to a modern computer.
I use a 2020 iMac, it has the usual modern ports in the back. However a 20 year old Coolscan uses an older connection called FireWire 400. When Nikon shipped their Coolscan’s they came with a FireWire 400 cable and for PC users a FireWire 400 card to fit into their machines. This is old technology now and it was superseded by FireWire 800 and then in Apple's case Thunderbolt. You can't connect a Coolscan to a computer using USB this will blow out the motherboard. The solution is a generic FireWire 400 to 800 cable connected to Apple's own FireWire 800 to Thunderbolt 2 connector and then in my case an Apple Thunderbolt 2 to Thunderbolt 3 connector. Total cost just over £50.00 and this simply to see the Coolscan connected on my modern iMac. At this point, I have to apologise to any Windows users reading this as I have no idea how the equivalent connection is made between a FireWire 400 and a modern PC, but I guess it's a similar story?
SCANNING SOFTWARE
Okay, so I connected the Coolscan with an expensive Frankenstein cable to my Mac the next step was to decide what software and workflow I was going to scan with? The most popular choice seems to be to use VueScan to make linear DNG scans, scans that are positive and not inverted. The DNG scans are in effect RAW files with all the information captured. VueScan has no influence other than its infra-red dust removal with all other controls set to off. The resulting DNG's are then inverted with either Adobe Camera RAW or Negative Lab Pro (or any other photo editing software) and final post-processing in whatever is the photographic software of your preference. This might be the most popular method but for me, it didn't work. I found the whole process convoluted and long-winded. Producing linear scans in VueScan was easy enough, but then exporting them into Lightroom to launch the Negative Lab Pro plugin for the inversion and basic colour correction only to have to export out again to Photoshop for further processing and retouching was only ever going to work for me if the results were exceptional. My tests were good but not wow! or amazing. Of course, as with any new software and workflow, there is a learning curve and a few hours of testing does not constitute 'expert' level experience but it does give a good indication.
At this stage, I felt the only way forward was to test all the alternatives to find what gave me the best result in terms of quality, workflow and ease. That meant trying SilverFast and in theory, at least this should have been easy. I had been using SilverFast for over four years and so should have been able to get good results with it. I downloaded a trial version for the Coolscan, this is because for every scanner there is a different (and expensive) version of SilverFast licence to be purchased. So, with some anticipation, I set up a test. The first thing I noticed was that the trial was version 9. With new icons and a dark look option, initially, I was pleased that the interface had received a long overdue contemporary design, but within minutes this feeling disappeared, some things are only skin deep. The issue was how SilverFast handles the Nikon film holders and previews the film frames, a critical first step in any scanning workflow. On a flatbed like my previous Epson V800 the SilverFast sees all the frames in the holder and displays them as a preview on the screen. Because the Coolscan 8000 has different film holders depending on the format loaded SilverFast uses a preview management system that for me was totally nonsensical and after two hours of experimenting it just left me hugely irritated. If a user like me who has used SilverFast for almost four years can't work with their preview system then that is a very bad sign. Anyway, finally after a lot of frustration I managed to make some test scans and use the software as intended. The result were, well pretty good which was not surprising because as vexing as SilverFast is, it works and that was why I used it for my flatbed scanning. But now I felt it was no longer good enough to put up with what was for me, a fundamentally annoying piece of very expensive software. The time was up for SilverFast.
Neither of my tests so far had given me what I wanted. There was only one thing for it. On a shelf in my garage sat an old Apple Powerbook G4. I hadn't used it for 12 years and I didn't even have a charger, but in theory, at least this machine could allow me to try the scanning software that was designed and meant to be used with the Coolscan, Nikon Scan 4.

GOING RETRO
Nikon Scan 4 is still available as a FREE download from the Nikon website. In the case of Apple users, the last operating system to use it was OSX 10.4 also known as Tiger. Again, I’m sorry to say but I don’t know what version of Windows works with Nikon Scan 4 but I’m guessing it’s an old one? With a Mac, this means that if you want to use it you will need an Apple computer with a PowerPC processor, in other words, pre-2005 before Apple’s transition to Intel processors in 2006. My old G4 PowerBook was just that. Downloaded and connected to an old 23’’ Cinema Display I was able to see and try the original software. I had read on the web of course that it was dated and buggy and not as good as modern scanning software. Very quickly I could see that for me, this was not the case.
Let me address each in turn. Dated design, yes, of course, Nikon Scan is old and looks like it but the interface is clean practical and with no previous experience I quickly worked out how to use it, something that I can’t say about SilverFast. Not only that but within only a few hours of work I was getting excellent results. This was interesting for me, because I have often thought of poor initial results from a new scanning software as simply the result of me being new to it and that over time and with experience using it I could learn to get good results. Scanning is a skill and there is no such thing as a silver-bullet scanning program or workflow, each has its quirks and limitations and each requires experience to get the very best from it. What struck me about Nikon Scan 4 is that it was straightforward and gives impressive results very quickly with little fettling and adjusting. When I was stuck Nikon's own instruction manual was very straightforward and I was back on track quickly.
Buggy, not in my experience. I have up to now scanned 4000+ frames and Nikon Scan 4 has frozen only twice. Both times I simply quit the application and re-opened it and both times it worked as normal. I would hardly call that buggy.
Finally, how does it compare to modern scanning software? Well for one thing it is a pleasure to use, straightforward and easy. I like its simple layout and logical workflow. From loading the holder which is automatically recognised it generates 12 thumbnails for 35mm or 3 for 6x6 for you to select which frames you want to preview. Starting with the first preview it can be sized and the scanning window selected, at any stage, you can save what you have done to use on other frames. The main corrections are done via a curves tool. Incredibly powerful almost all corrections can be achieved here in addition there are the usual brightness and contrast controls and also an RGB set of colour sliders. Sharpening is excellent and better than any other scanning software I have ever used, then again you don’t need much sharpening because the machine auto focuses on the grain of each frame and is sharp by design. As well as all the usual features you would expect from any scanning software, Nikon Scan 4 has some of its own special ones in its ‘tool chest’. Digital DEE or Digital Exposure Extender which is a fancy way to control underexposed or overexposed scans. Analog Gain, a powerful way to adjust colour by modifying exposure for the coloured elements in the scanner’s LED light source, either overall by powering down or up the scanner's LED lights or individually on the RGB of the scanning light source. In effect, if a preview is too yellow you can increase the blue light from the scanner and correct the scan using Analog Gain.

Screenshot of my 2004 retro Mac running OSX 10.4, I sort of miss that chunky Chicago typeface!
Then there is Nikon Scans 4’s Digital ICE. Dust and scratches are the bugbear of any scanner operator, air cans, rocket blowers, anti-static brushes and a clean environment can go so far but anyone who has scanned negatives will attest that no matter how hard you try, getting perfectly clean scans is a difficult thing. All scanning software offers some kind of infrared-based image correction for colour negative scanning and I have experienced a few in one form or another, but I’ve never seen it work so well as the way Nikon Scan 4 does. I have to say it is almost flawless, I have until now yet to see any artefacts or errors resulting in its implementation, just clean dustless scans every time. I can still remember having to do a sweep of every scan at 100% just to look for strange auto corrections made by SilverFast’s iSRD or even debating if it was worth using on EpsonScan. This is definitely not the case with ICE on Nikon Scan 4 for me, it’s a click-and-forget solution.
Of course, I appreciate not everyone has a retro Mac laying around or the space for what is in effect a dedicated scanning station, but if you do I would recommend trying Nikon Scan 4 with a Coolscan. It has a good workflow, makes great scans and well, just feels right.

UPDATE - MAY 2024
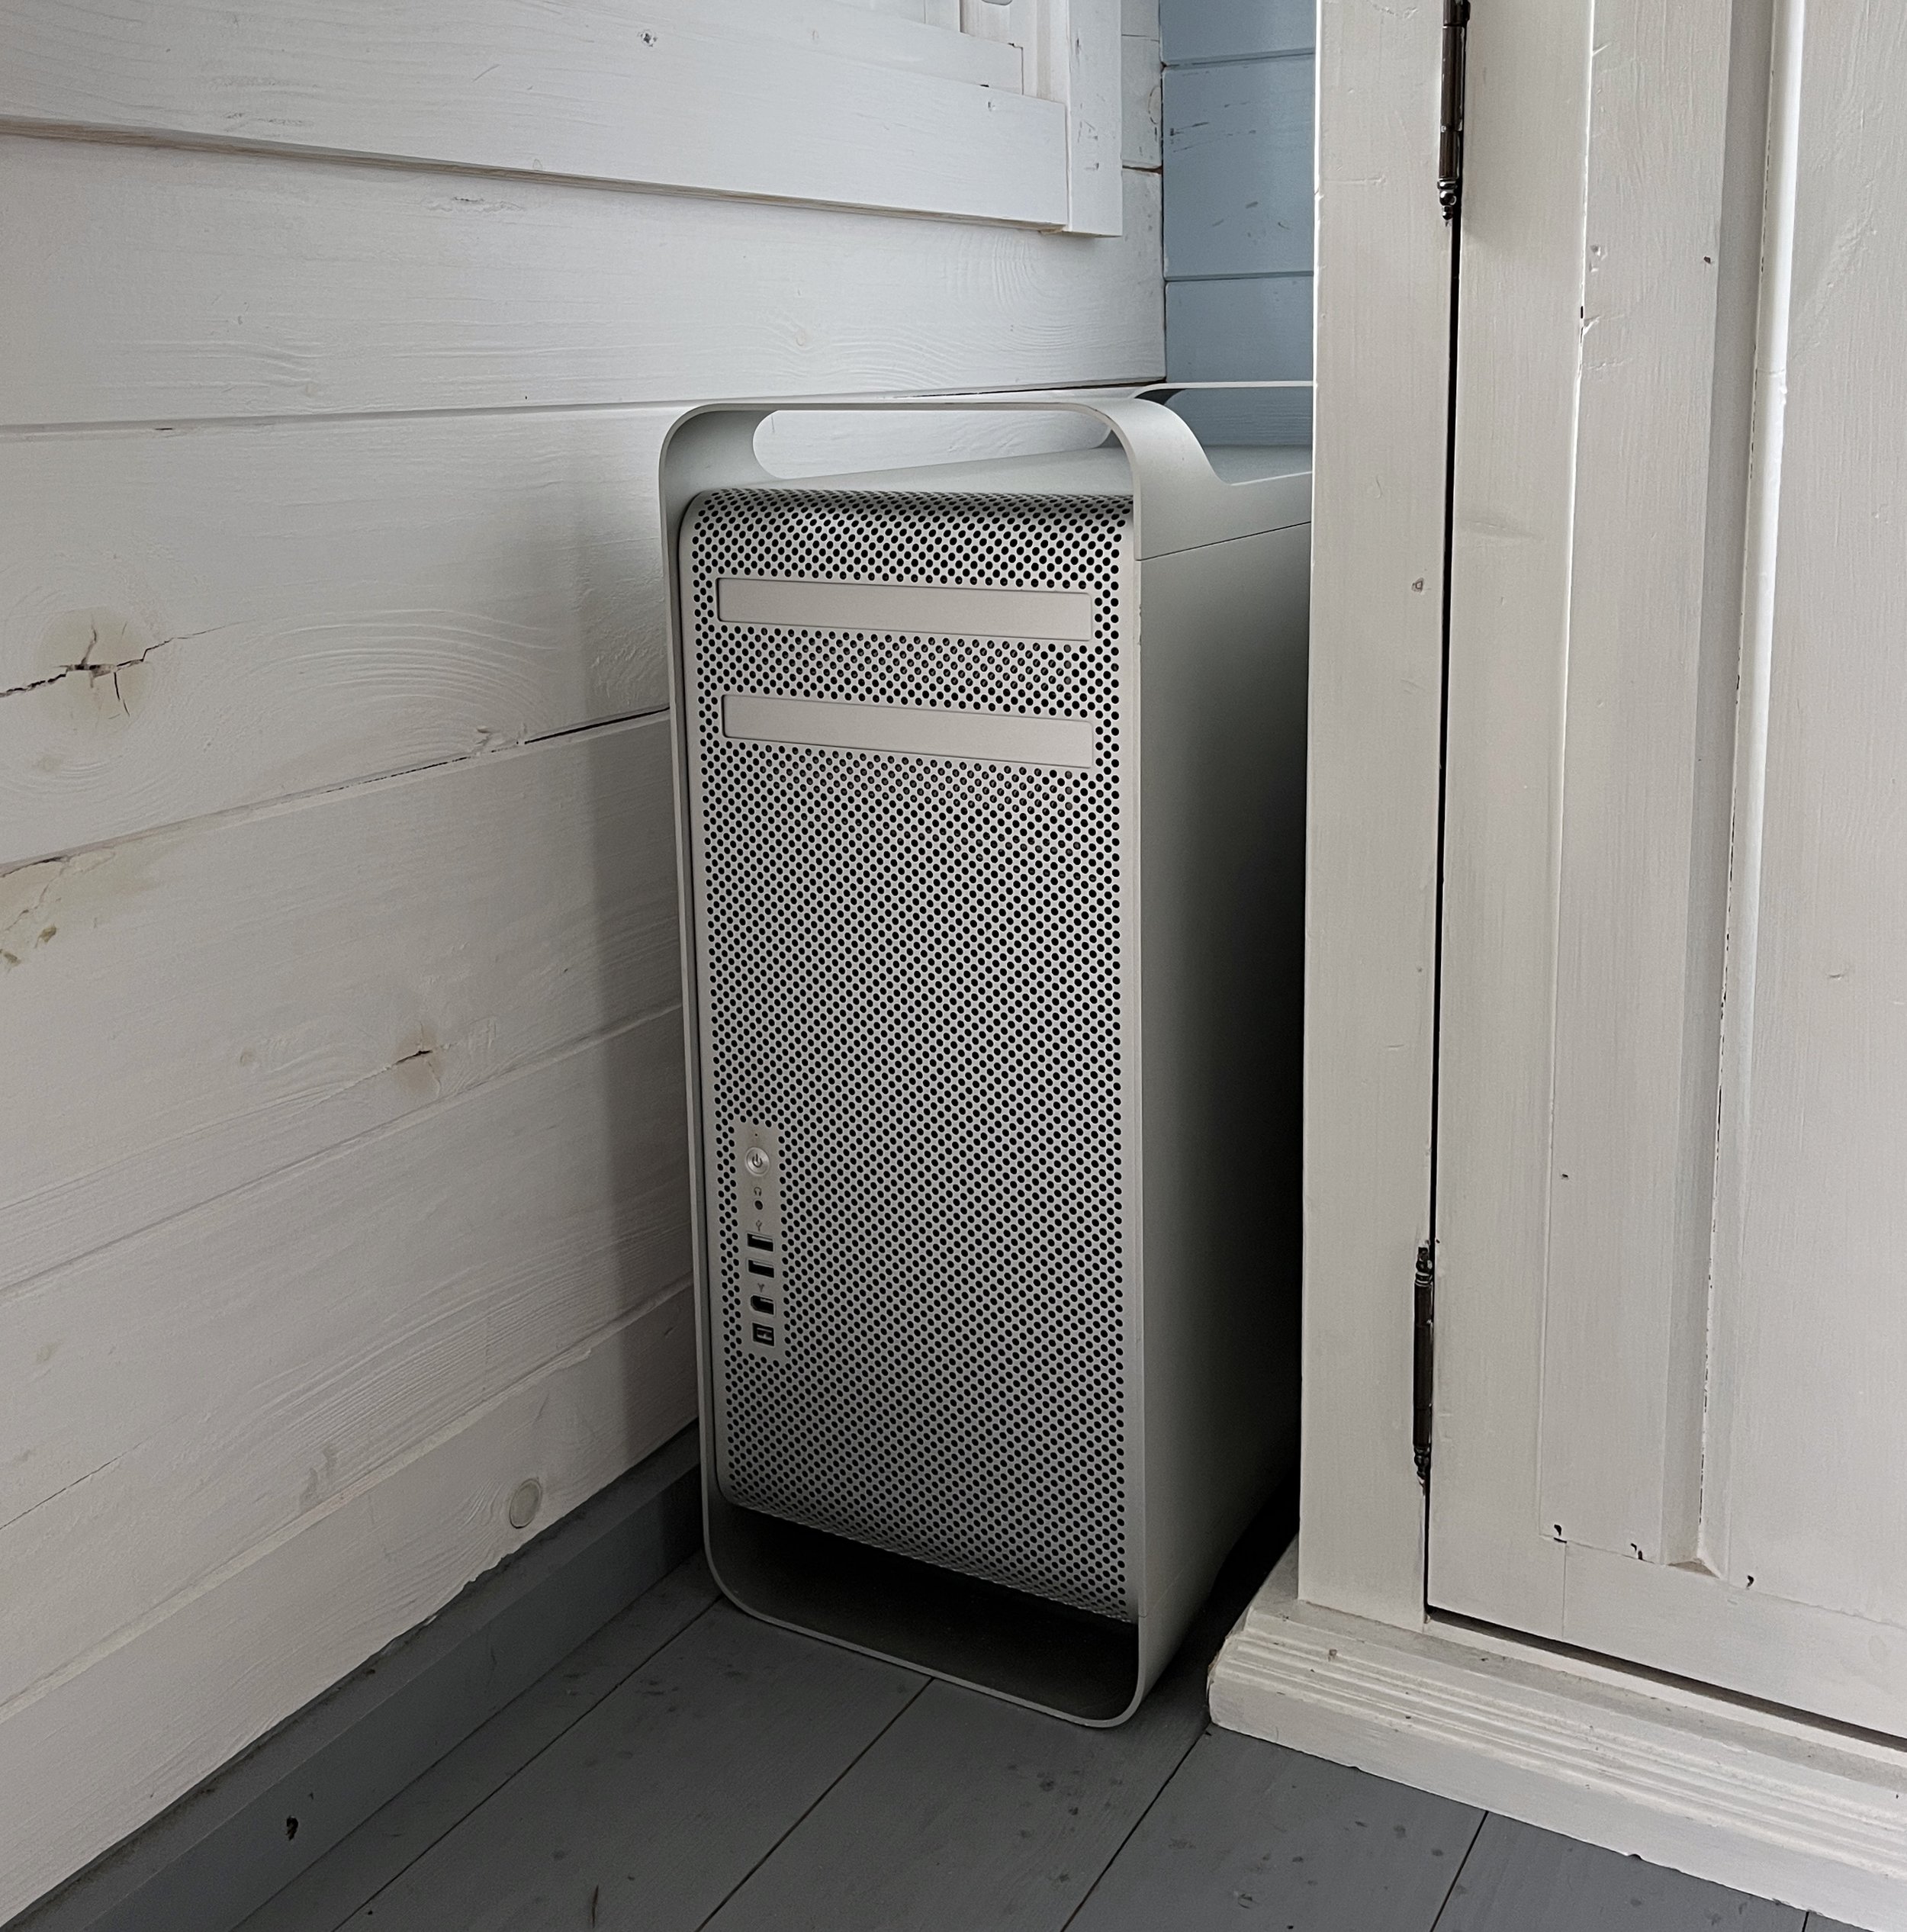
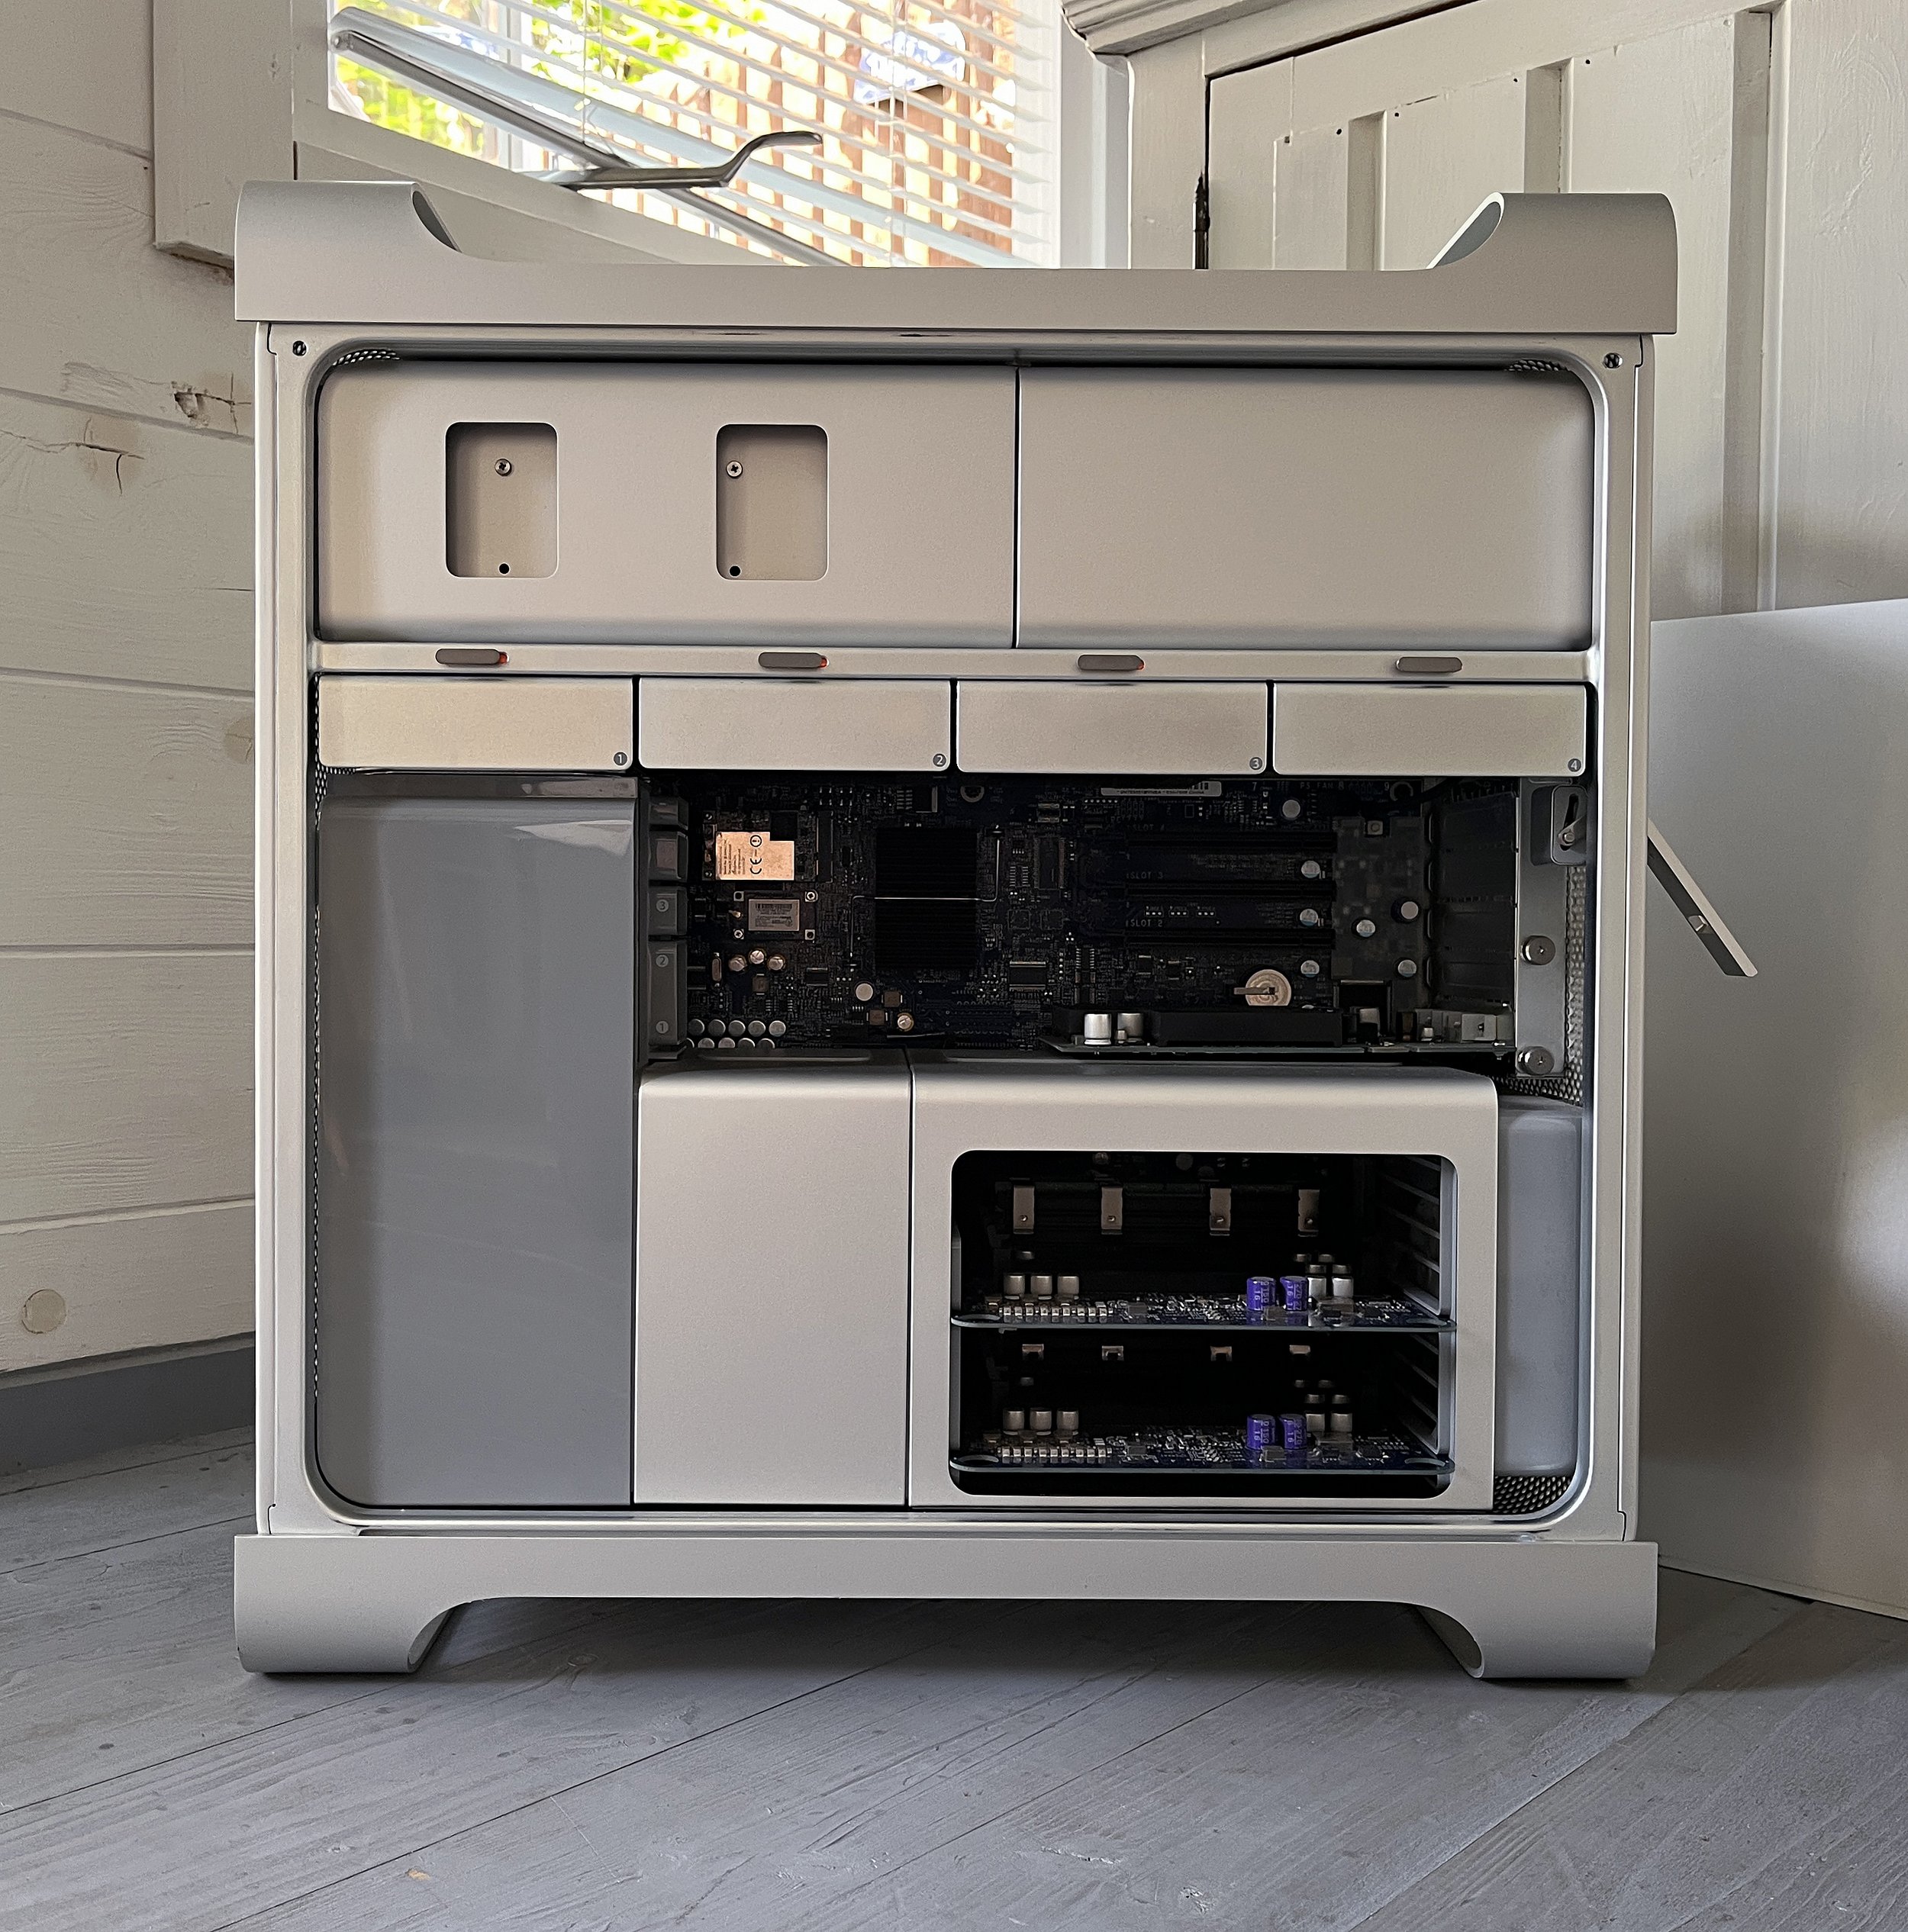
Warning this update is only for seriously geeky Mac users who also want to use Nikon Scan 4, a very rare audience granted, but anyway here goes. When I first decided to try Nikon Scan 4 everything I read indicated that it would only work with a Mac that used a PowerPC processor, a G4 or G5 or even a first generation Mac Mini. The last operating system on these machines was OSX 10.4 also know as Tiger. And yes, of course this is correct. However, a few months ago I was gifted a ‘cheese grater’ Mac which I thought was a PowerMac G5. Obviously, not only was I very happy to get this machine as an upgrade for my scanning but also because who wouldn’t want a massive early 2000s design classic, one that sucks all the air out of the room as soon as its booted up and looks like the inside of a space station when opened.
It turned out that what I had been given was not a PawerMac G5 but a later 2006 Mac Pro 1,1 that used an Intel processor and ran on OSX 10.5 Leopard, in my defence they look very similar. In vain I tried to instal Nikon Scan 4 but it didn’t work, I then read that the very first Mac Pro’s could run Tiger. So I got hold of an original OSX 10.4 Tiger instal disk and I can confirm that Nikon Scan 4 works perfectly on my Intel Mac without any issues. Not only that I now have enough space to archive a lifetime of scans.