PHOTOGRAPHIC STORIES in the Cambrian Mountains by Ben Lockett
There are parts of Wales that most of us will never visit, never pass through, and probably couldn't find on a map without guidance. The Cambrian Mountains sit at the heart of the country, a vast, fenceless, windswept expanse of high moorland that has been home to generations of hill farming communities whose lives, by any measure, were hard ones. Its inhabitants are deeply rooted and many have worked land that only grudgingly yields a livelihood. Too many are gone now. So, increasingly, are the traces of what they left behind.
It's this disappearing world that photographer Ben Lockett has spent the last two and a half years quietly and persistently documenting in his ongoing project Desert Green. The title feels like a contradiction because yes, this is green land, but it has the qualities of a desert: vast, silent, emptied of human life, indifferent to whoever comes and goes.
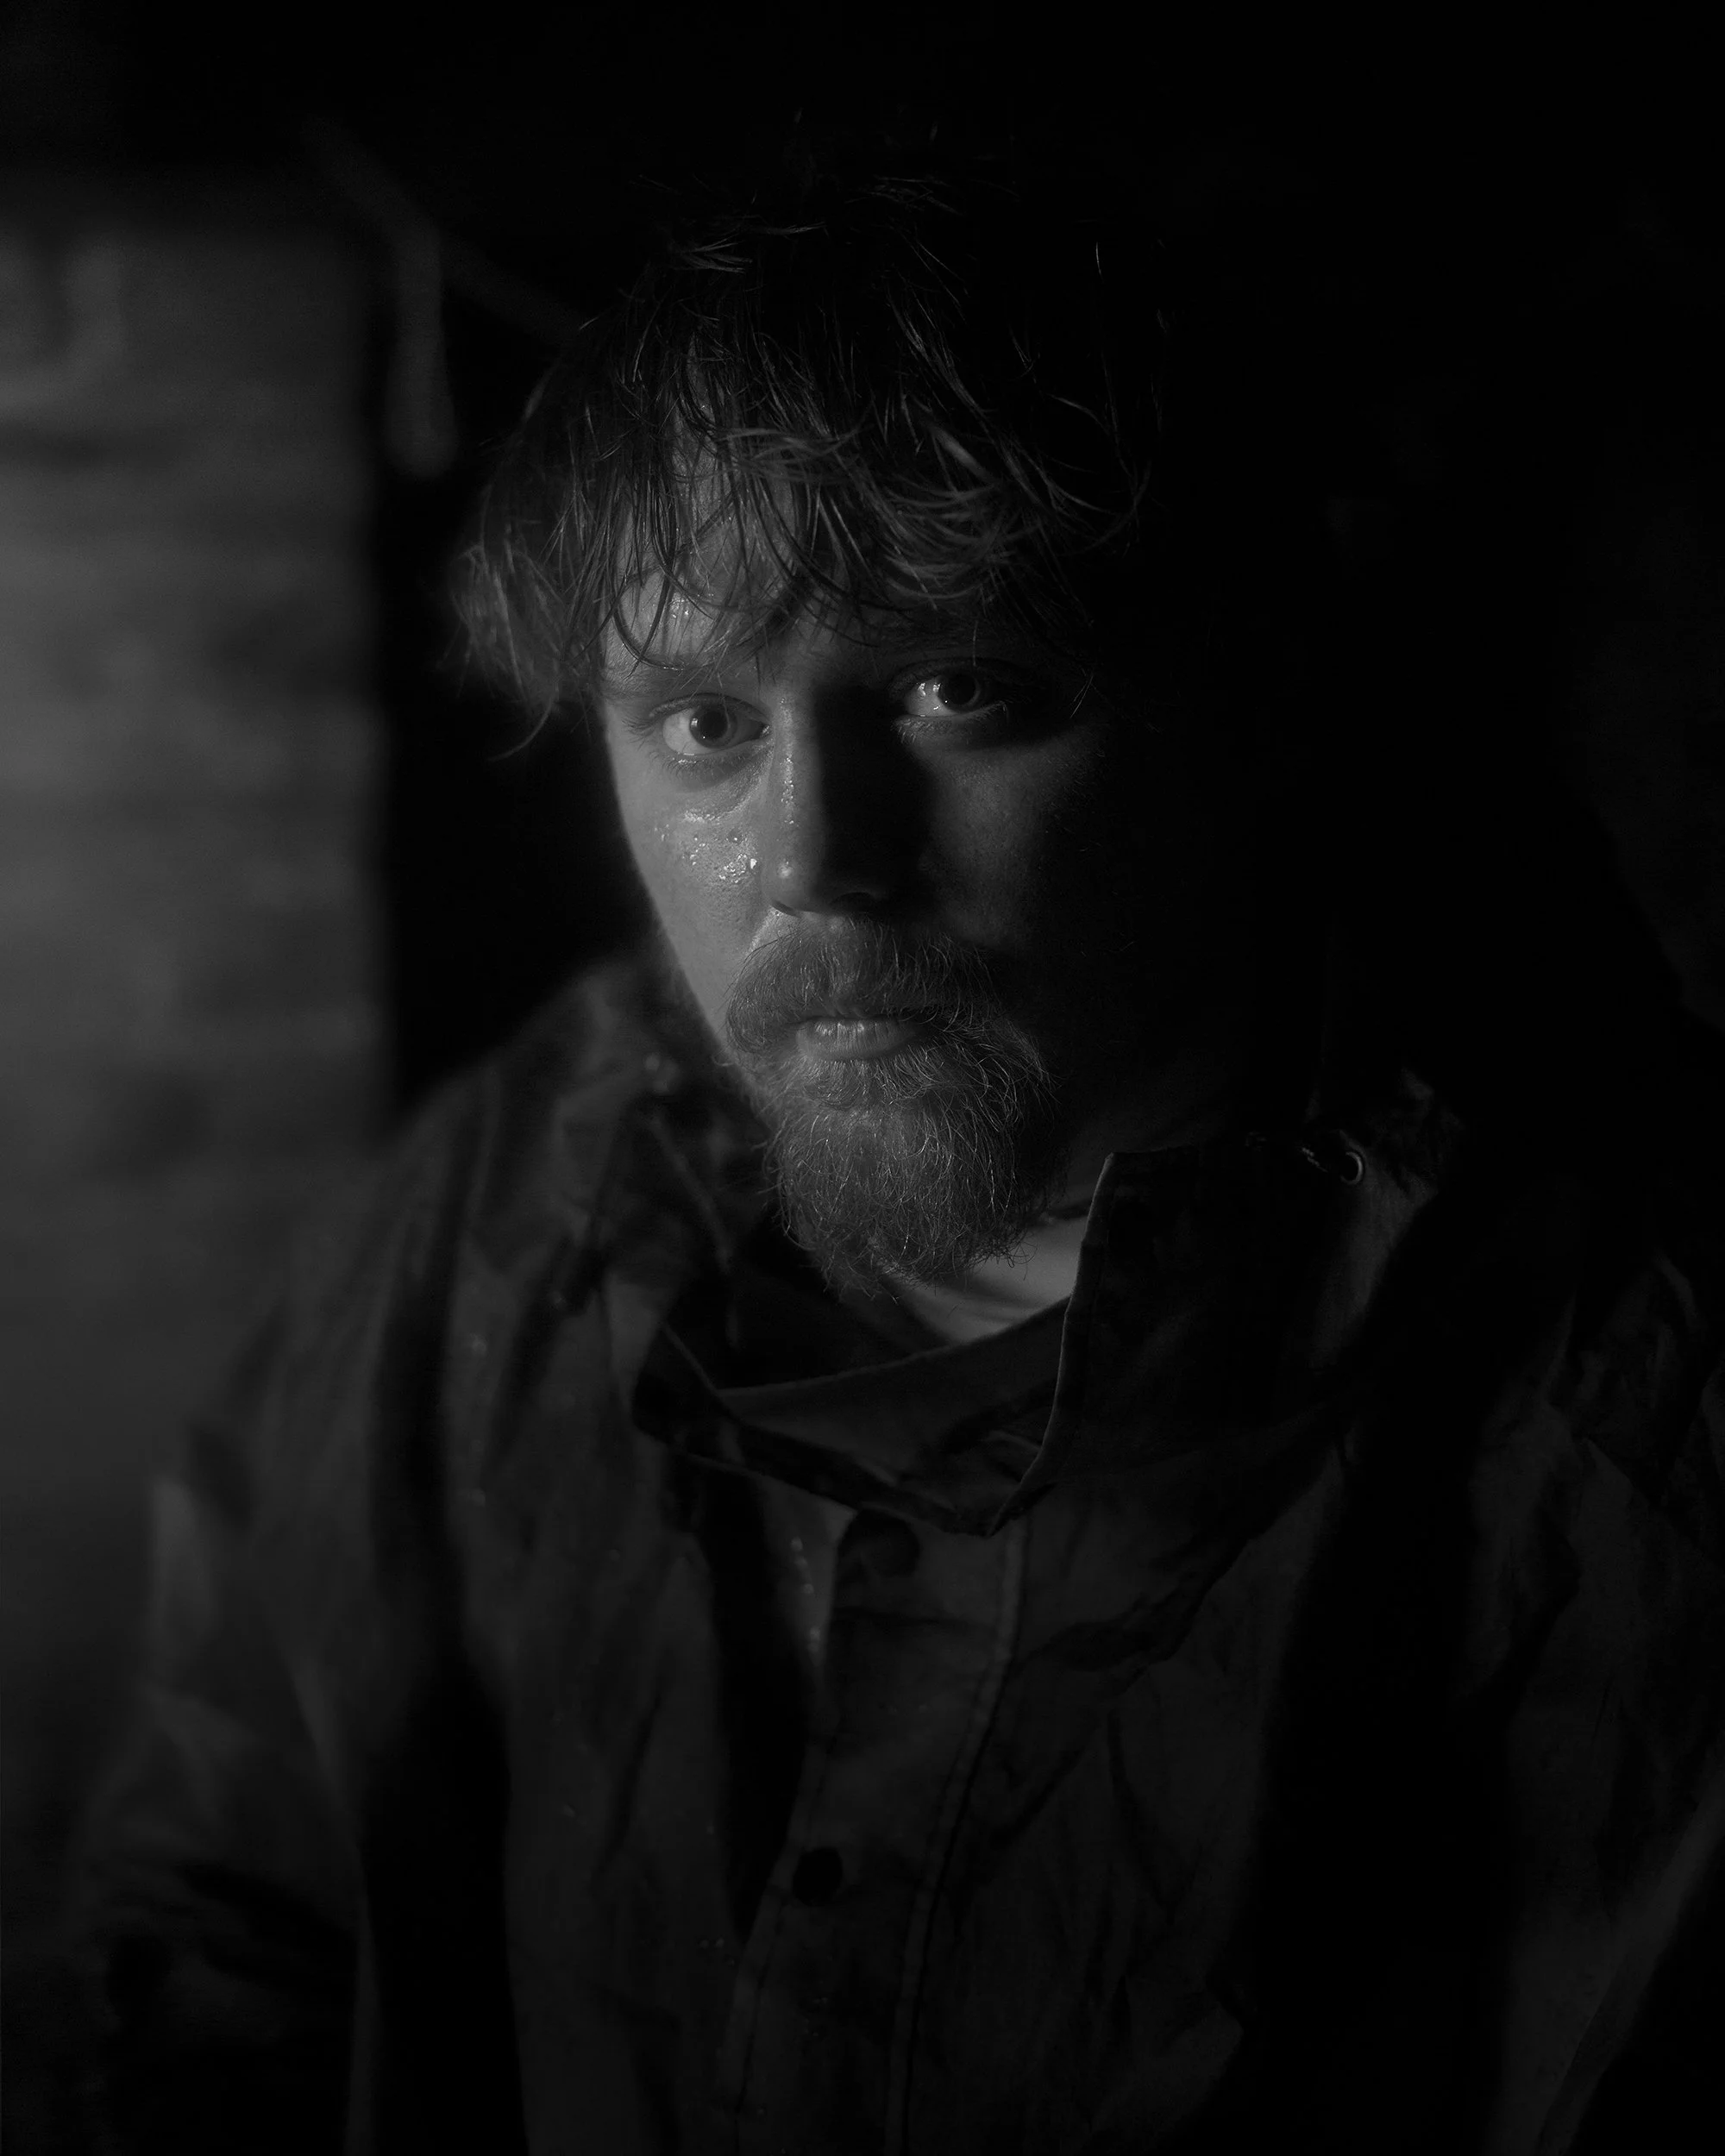
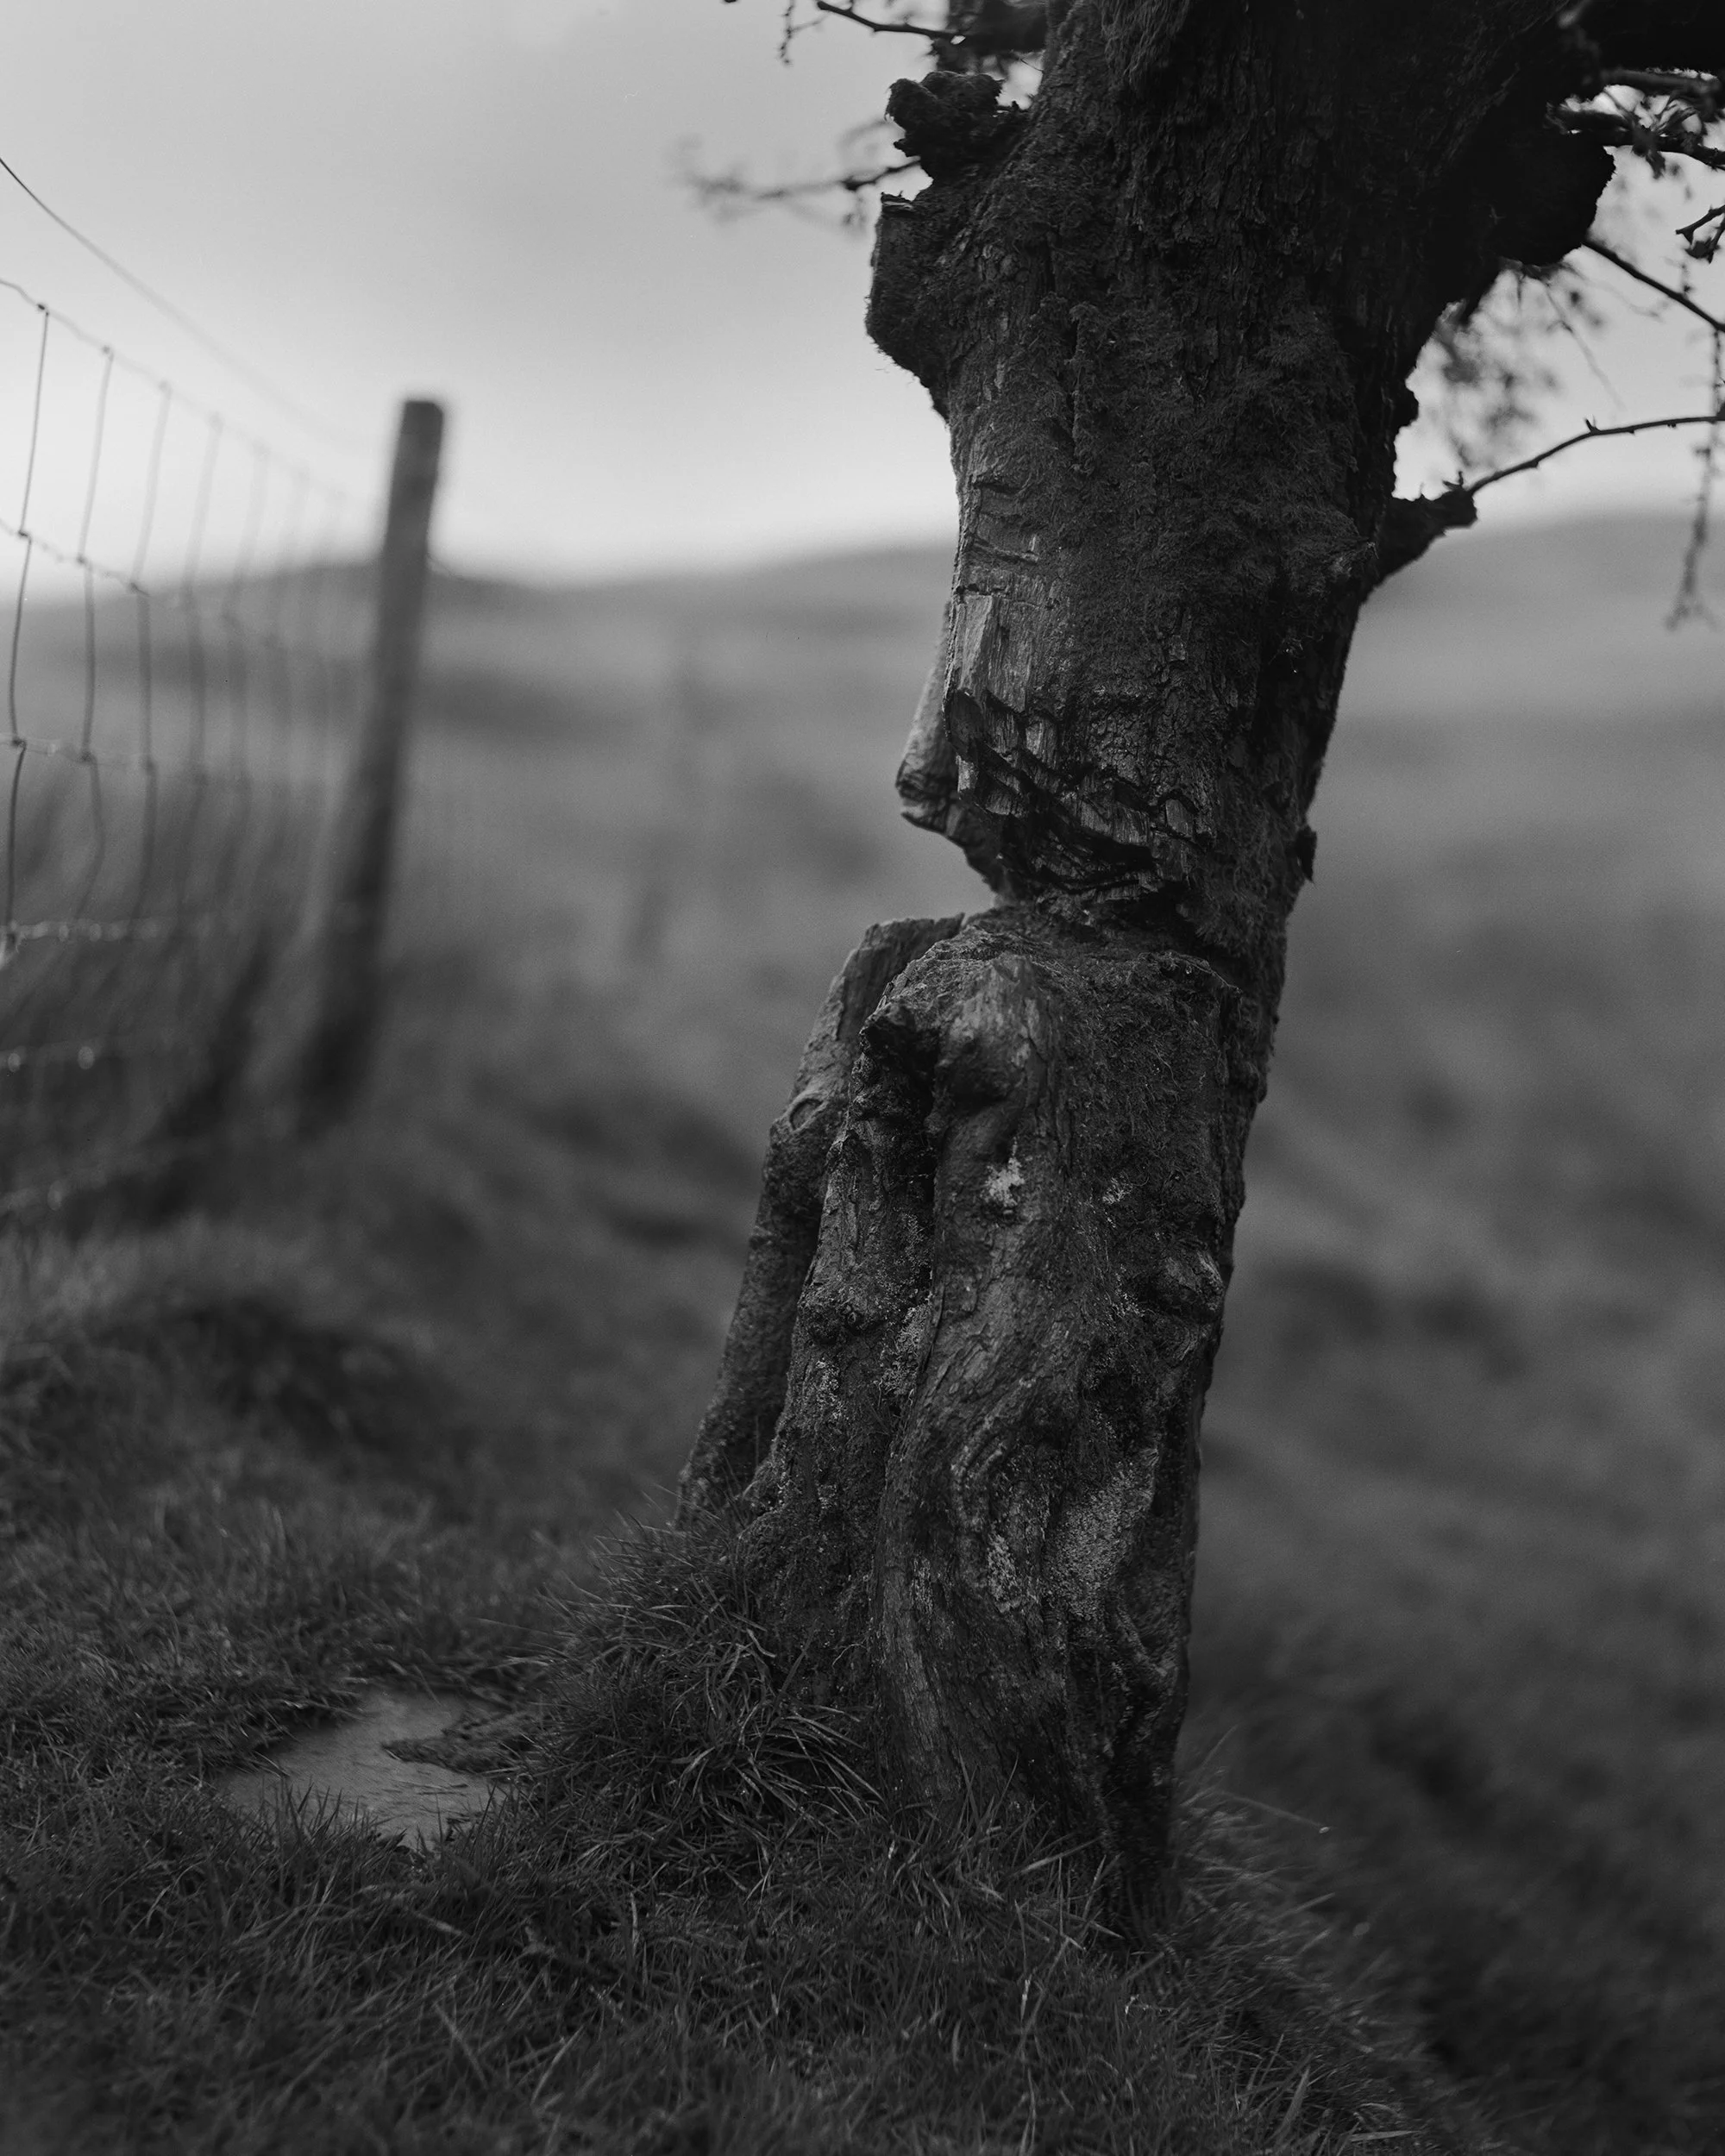
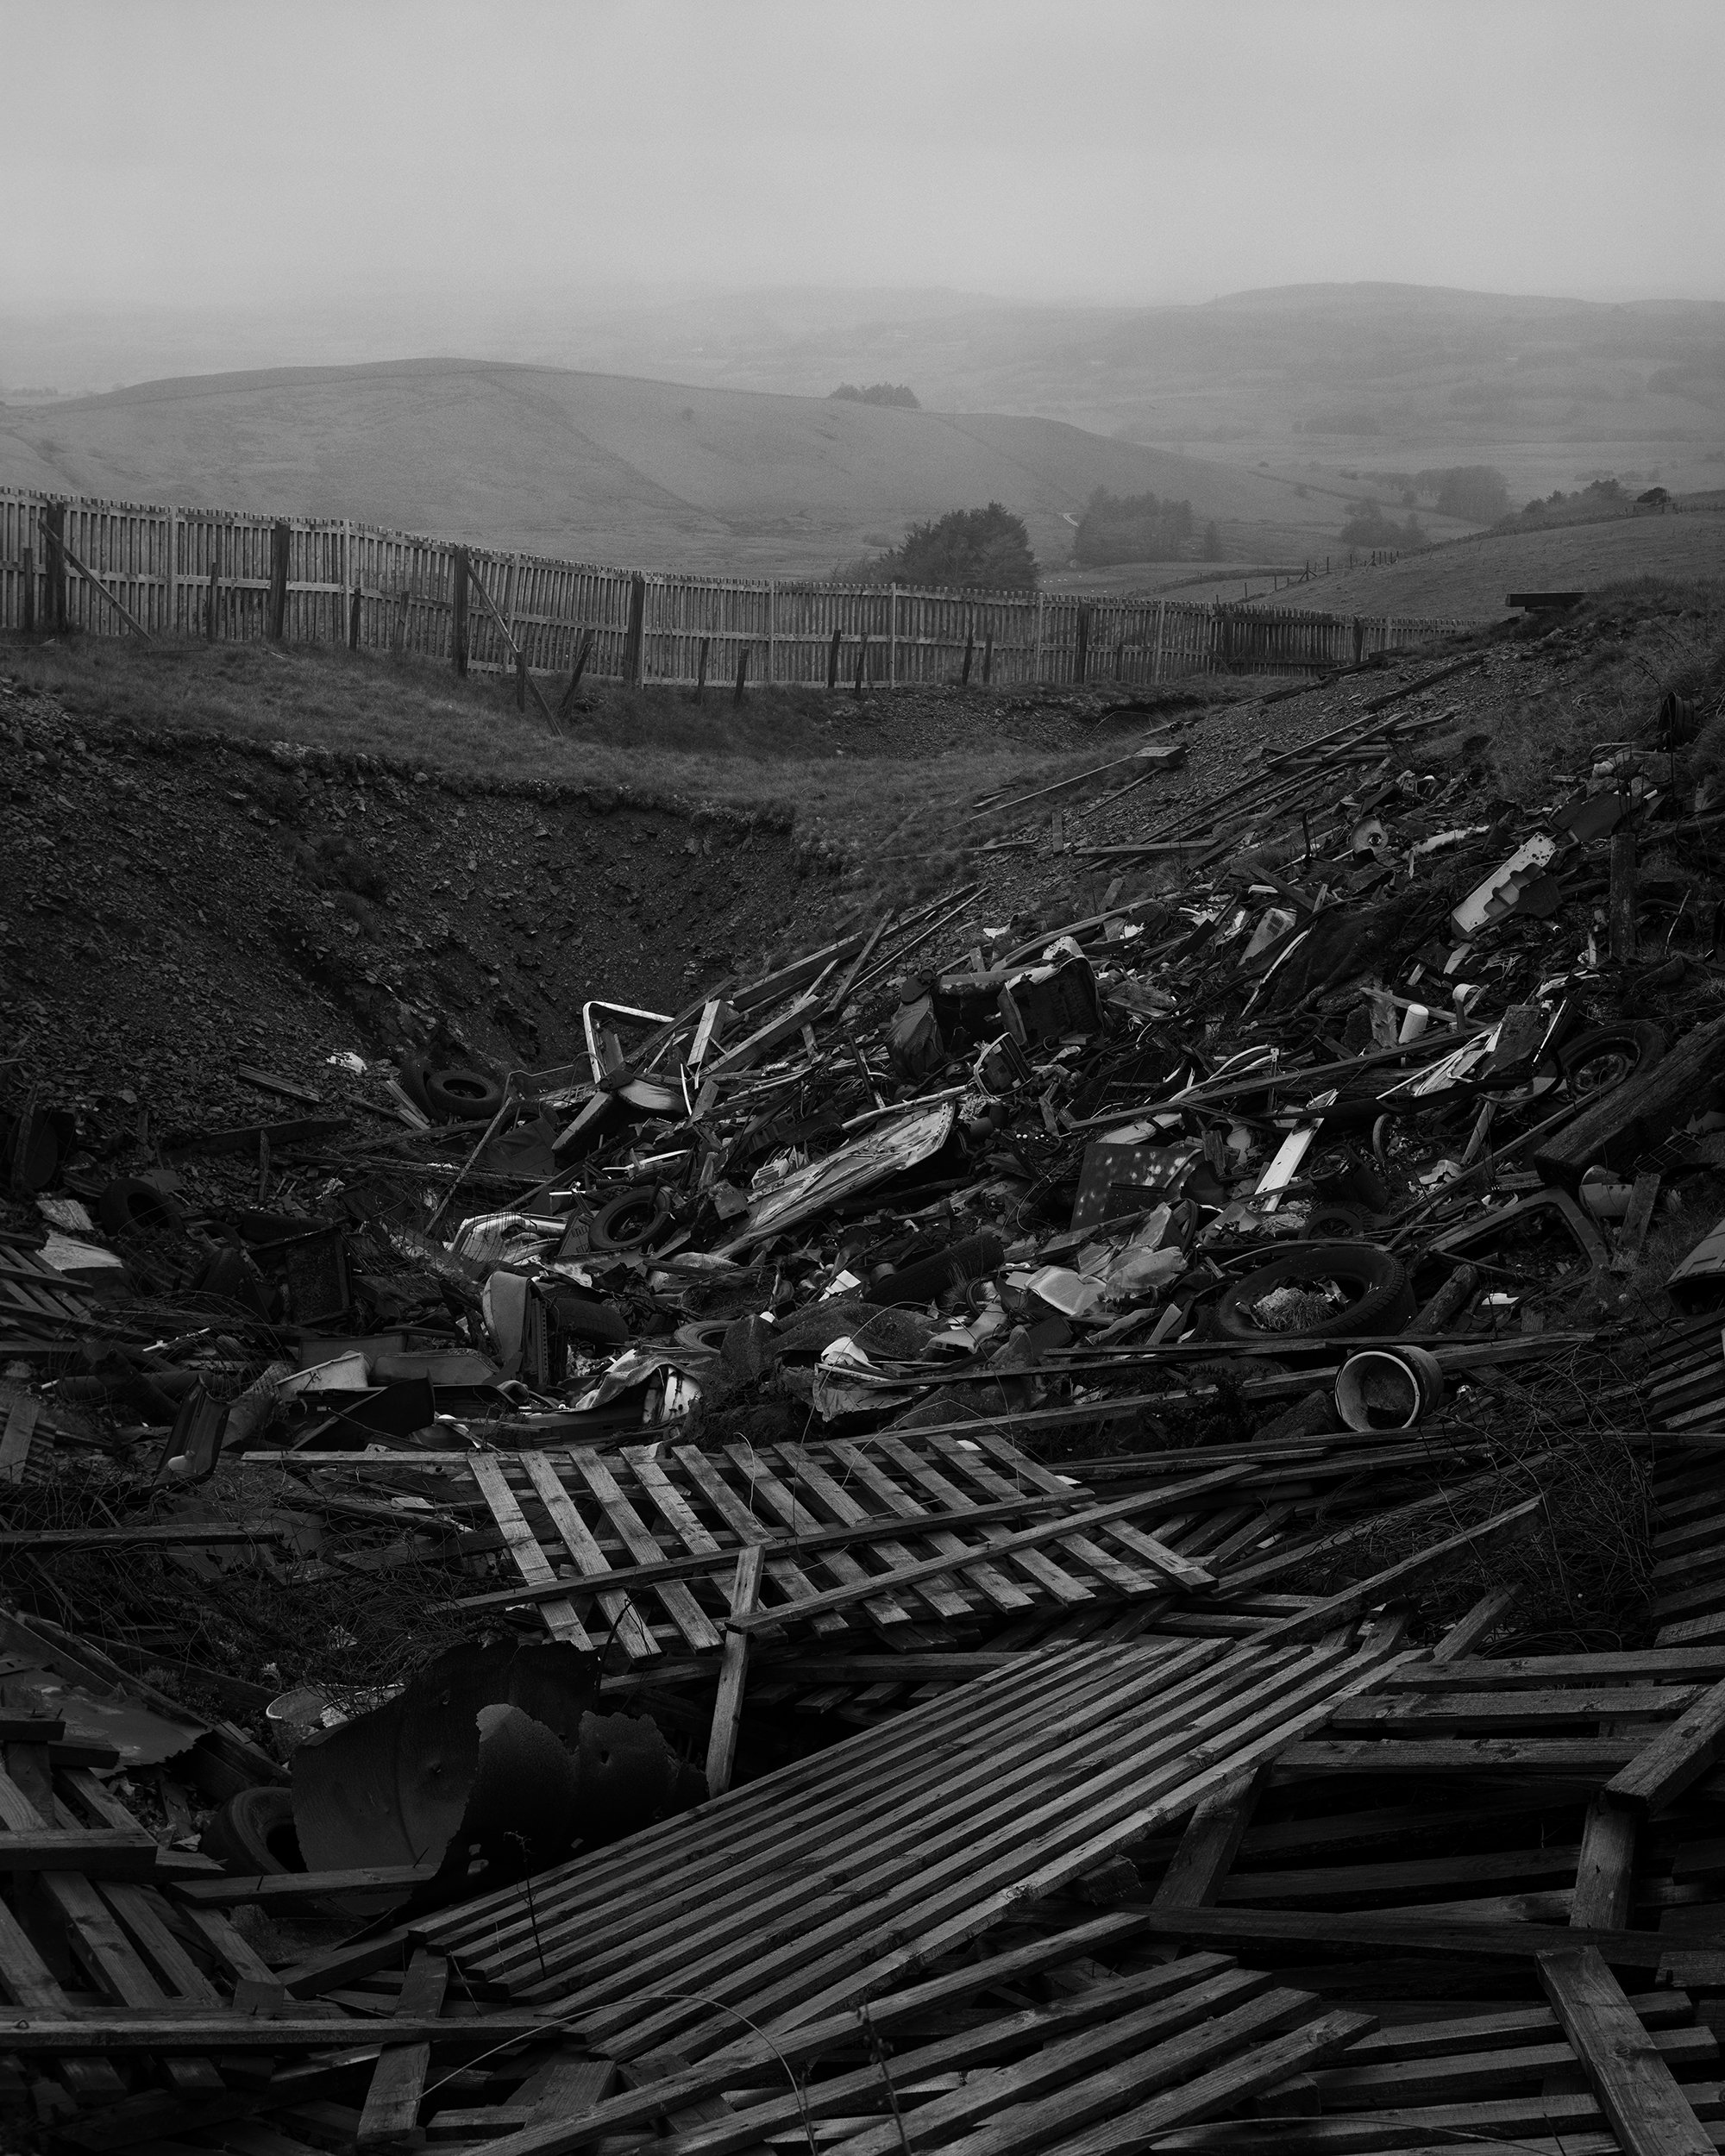
Ben has been returning to these mountains again and again since September 2023, and what he has assembled over that time is a body of work that is as much about absence as it is about presence. He photographs the people who remain and there are still some. Older hill farmers whose faces carry the kind of character that only photographers dream of; men who look as though they have been shaped by the same weather that sculpted the land around them. He photographs the departed just as compellingly. Ruined farmhouses reclaimed by moss and ivy. Abandoned buildings collapsing quietly into the hillside. A seemingly abandoned caravan amongst the trees with a bicycle slumped on a weak wire fence, together waiting for someone who is probably never coming back.
For me, the chapels are perhaps the most affecting subject in the whole series. The Cambrian Mountains were once dotted with them, small nonconformist congregations that were the social and spiritual heartbeat of these communities. Ben photographs them with a quiet reverence that feels entirely earned. Some are still just about standing, some by contrast, have given up entirely, their plaster peeling from the walls in great sheets, pews collapsed in on themselves, rooms that were once full of voices now full of nothing but cold light and slow decay. At Capel Moriah he finds a window, frosted glass still in the frame, and through it the ghostly silhouettes of plants that have pushed their way inside. It's one of the most quietly haunting images in the series.
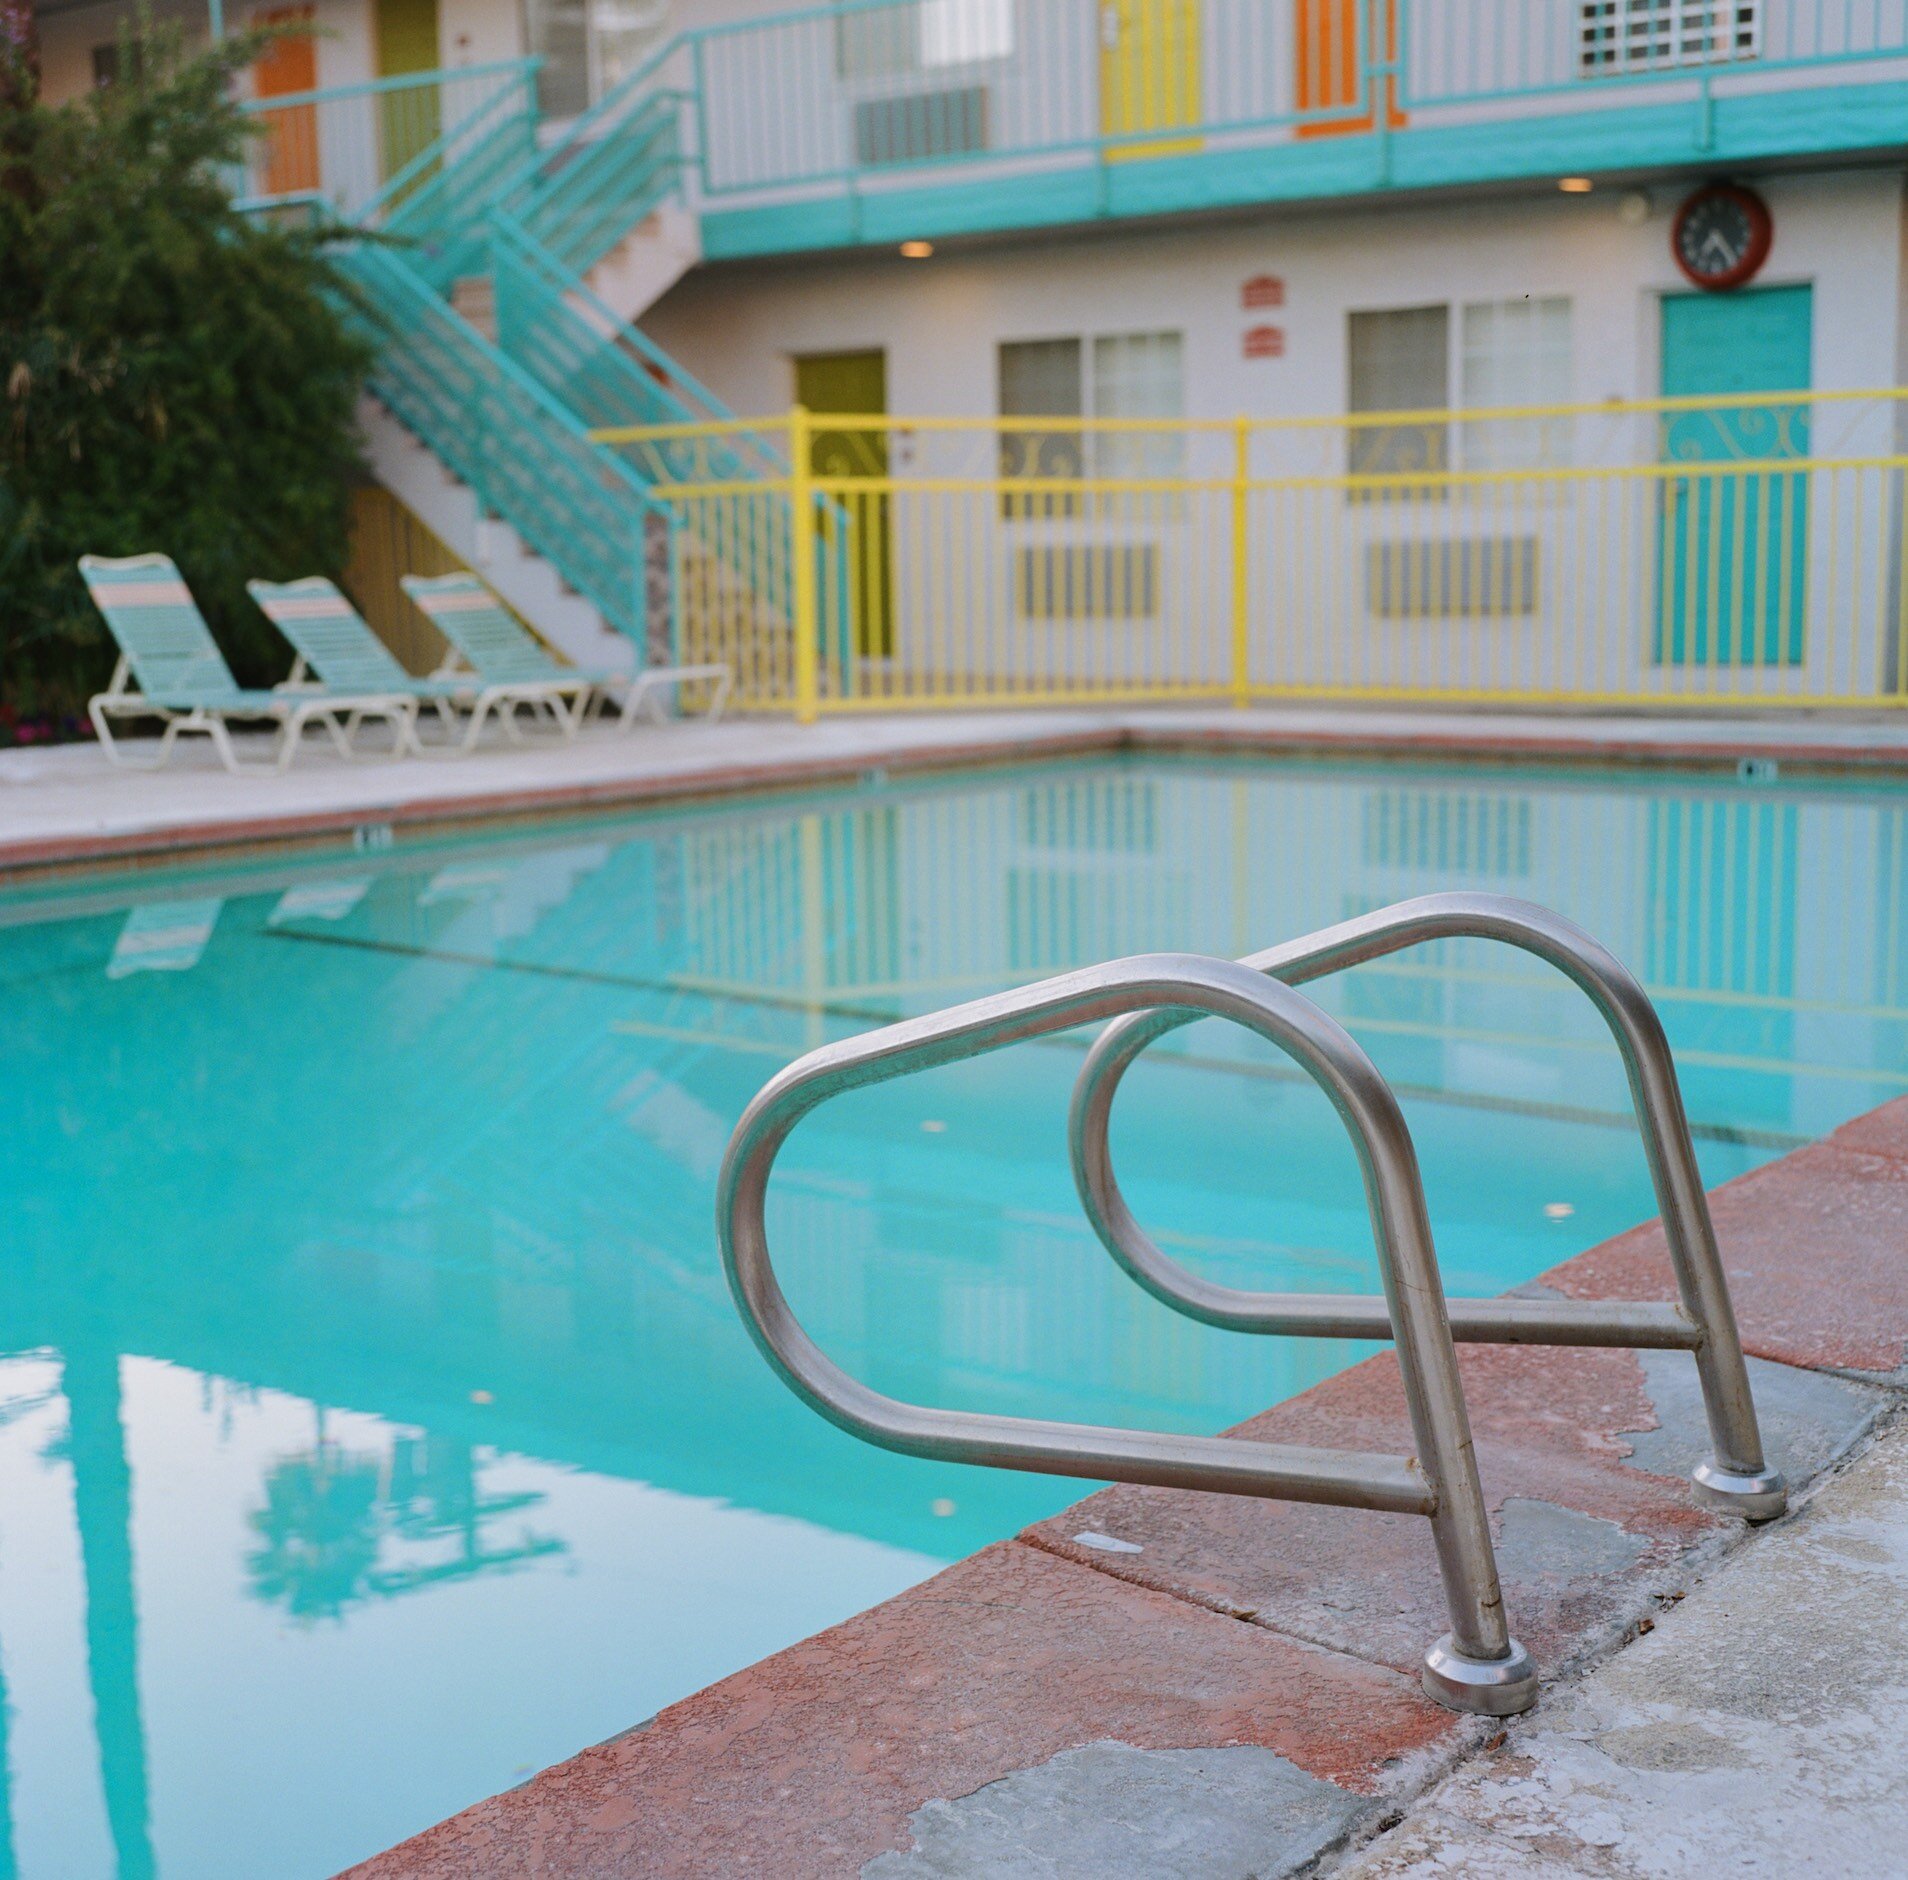
All of this is shot in black and white, using a medium format Hasselblad X1Dii digital camera and a large format Chamonix 5x4’ film camera. Ben's tonal range is consistently dramatic with no fear of deep shadow or near-darkness. The skies are so heavy they seem to press down on the land beneath them. Nowhere is this more apparent than in the image of a shepherd and his dog silhouetted on a hilltop at dusk, the weight of that darkening sky, stops you cold. The solitude. You feel the wind.
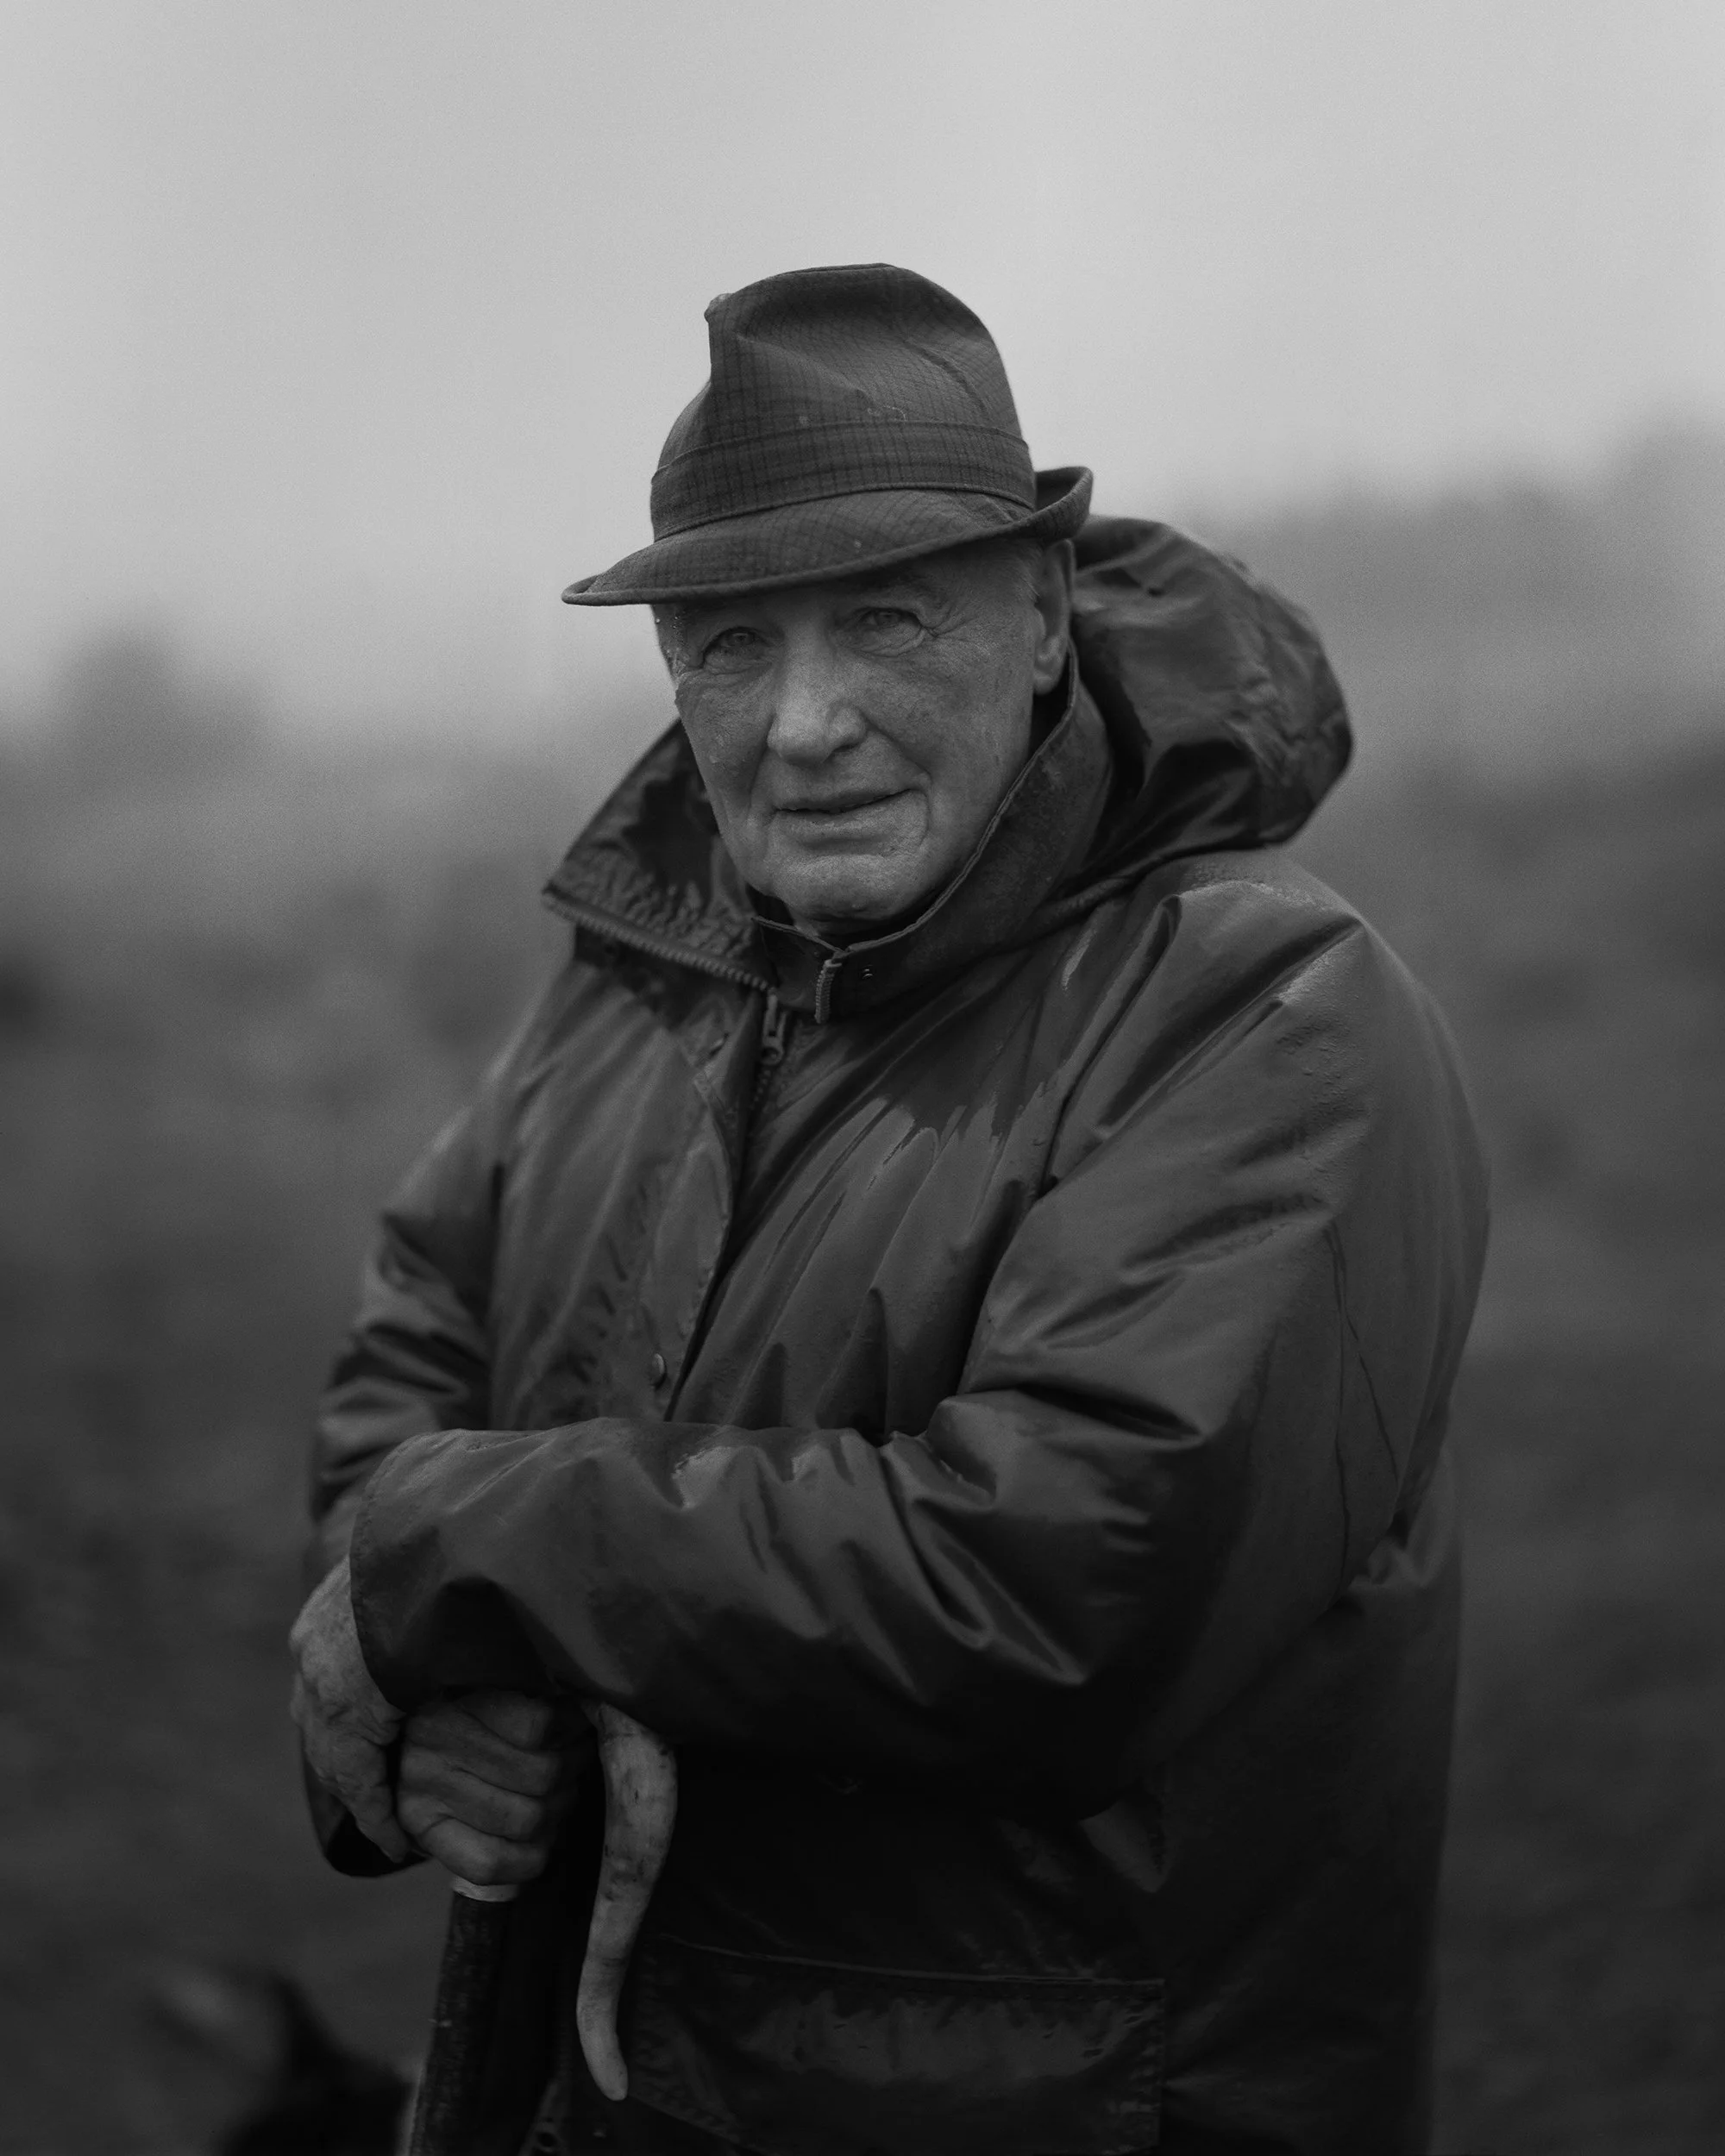
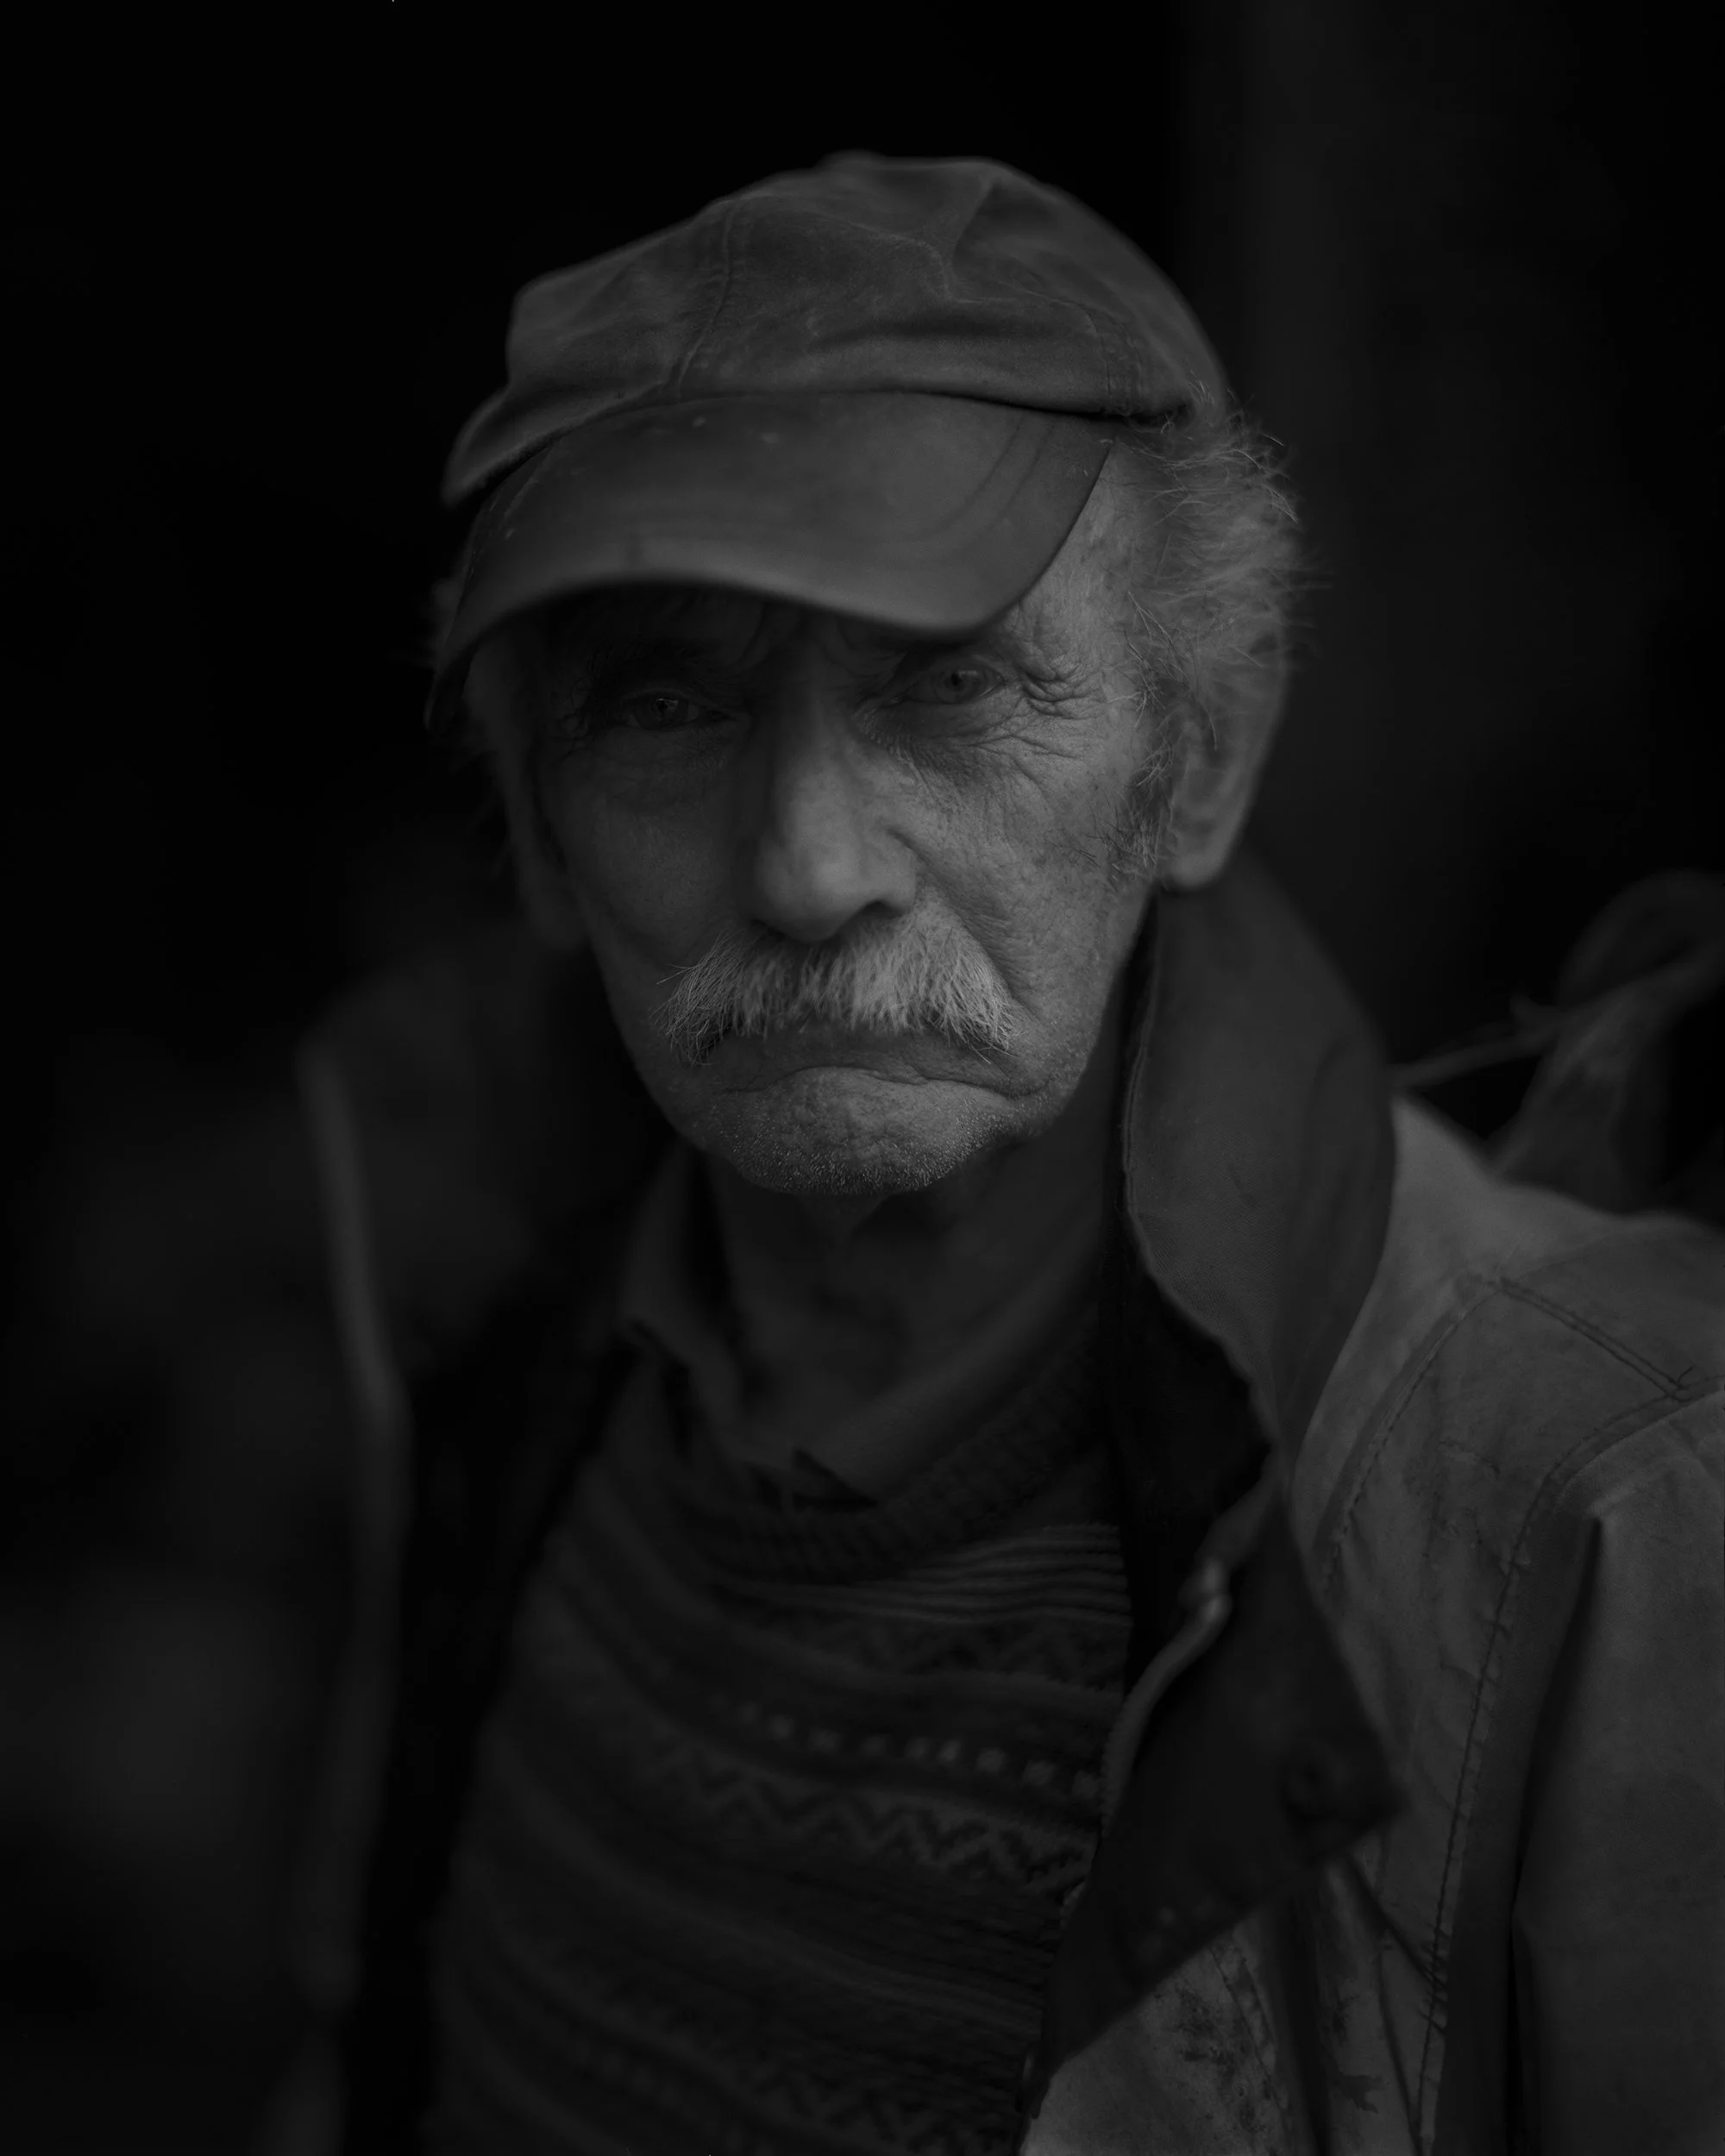
The portraits match the landscape in their weight. An old shepherd in a battered fedora, arms folded over a crook, staring at the camera in his greasy wet coat, the patience in his face has clearly been earned across decades of hard seasons. Another man, older still, in a flat cap, his face carrying a lifetime of weather. These are not romantic images of rural life. They are records of people, perhaps the last of a kind, who simply got on with it, in a little-known corner of the country.
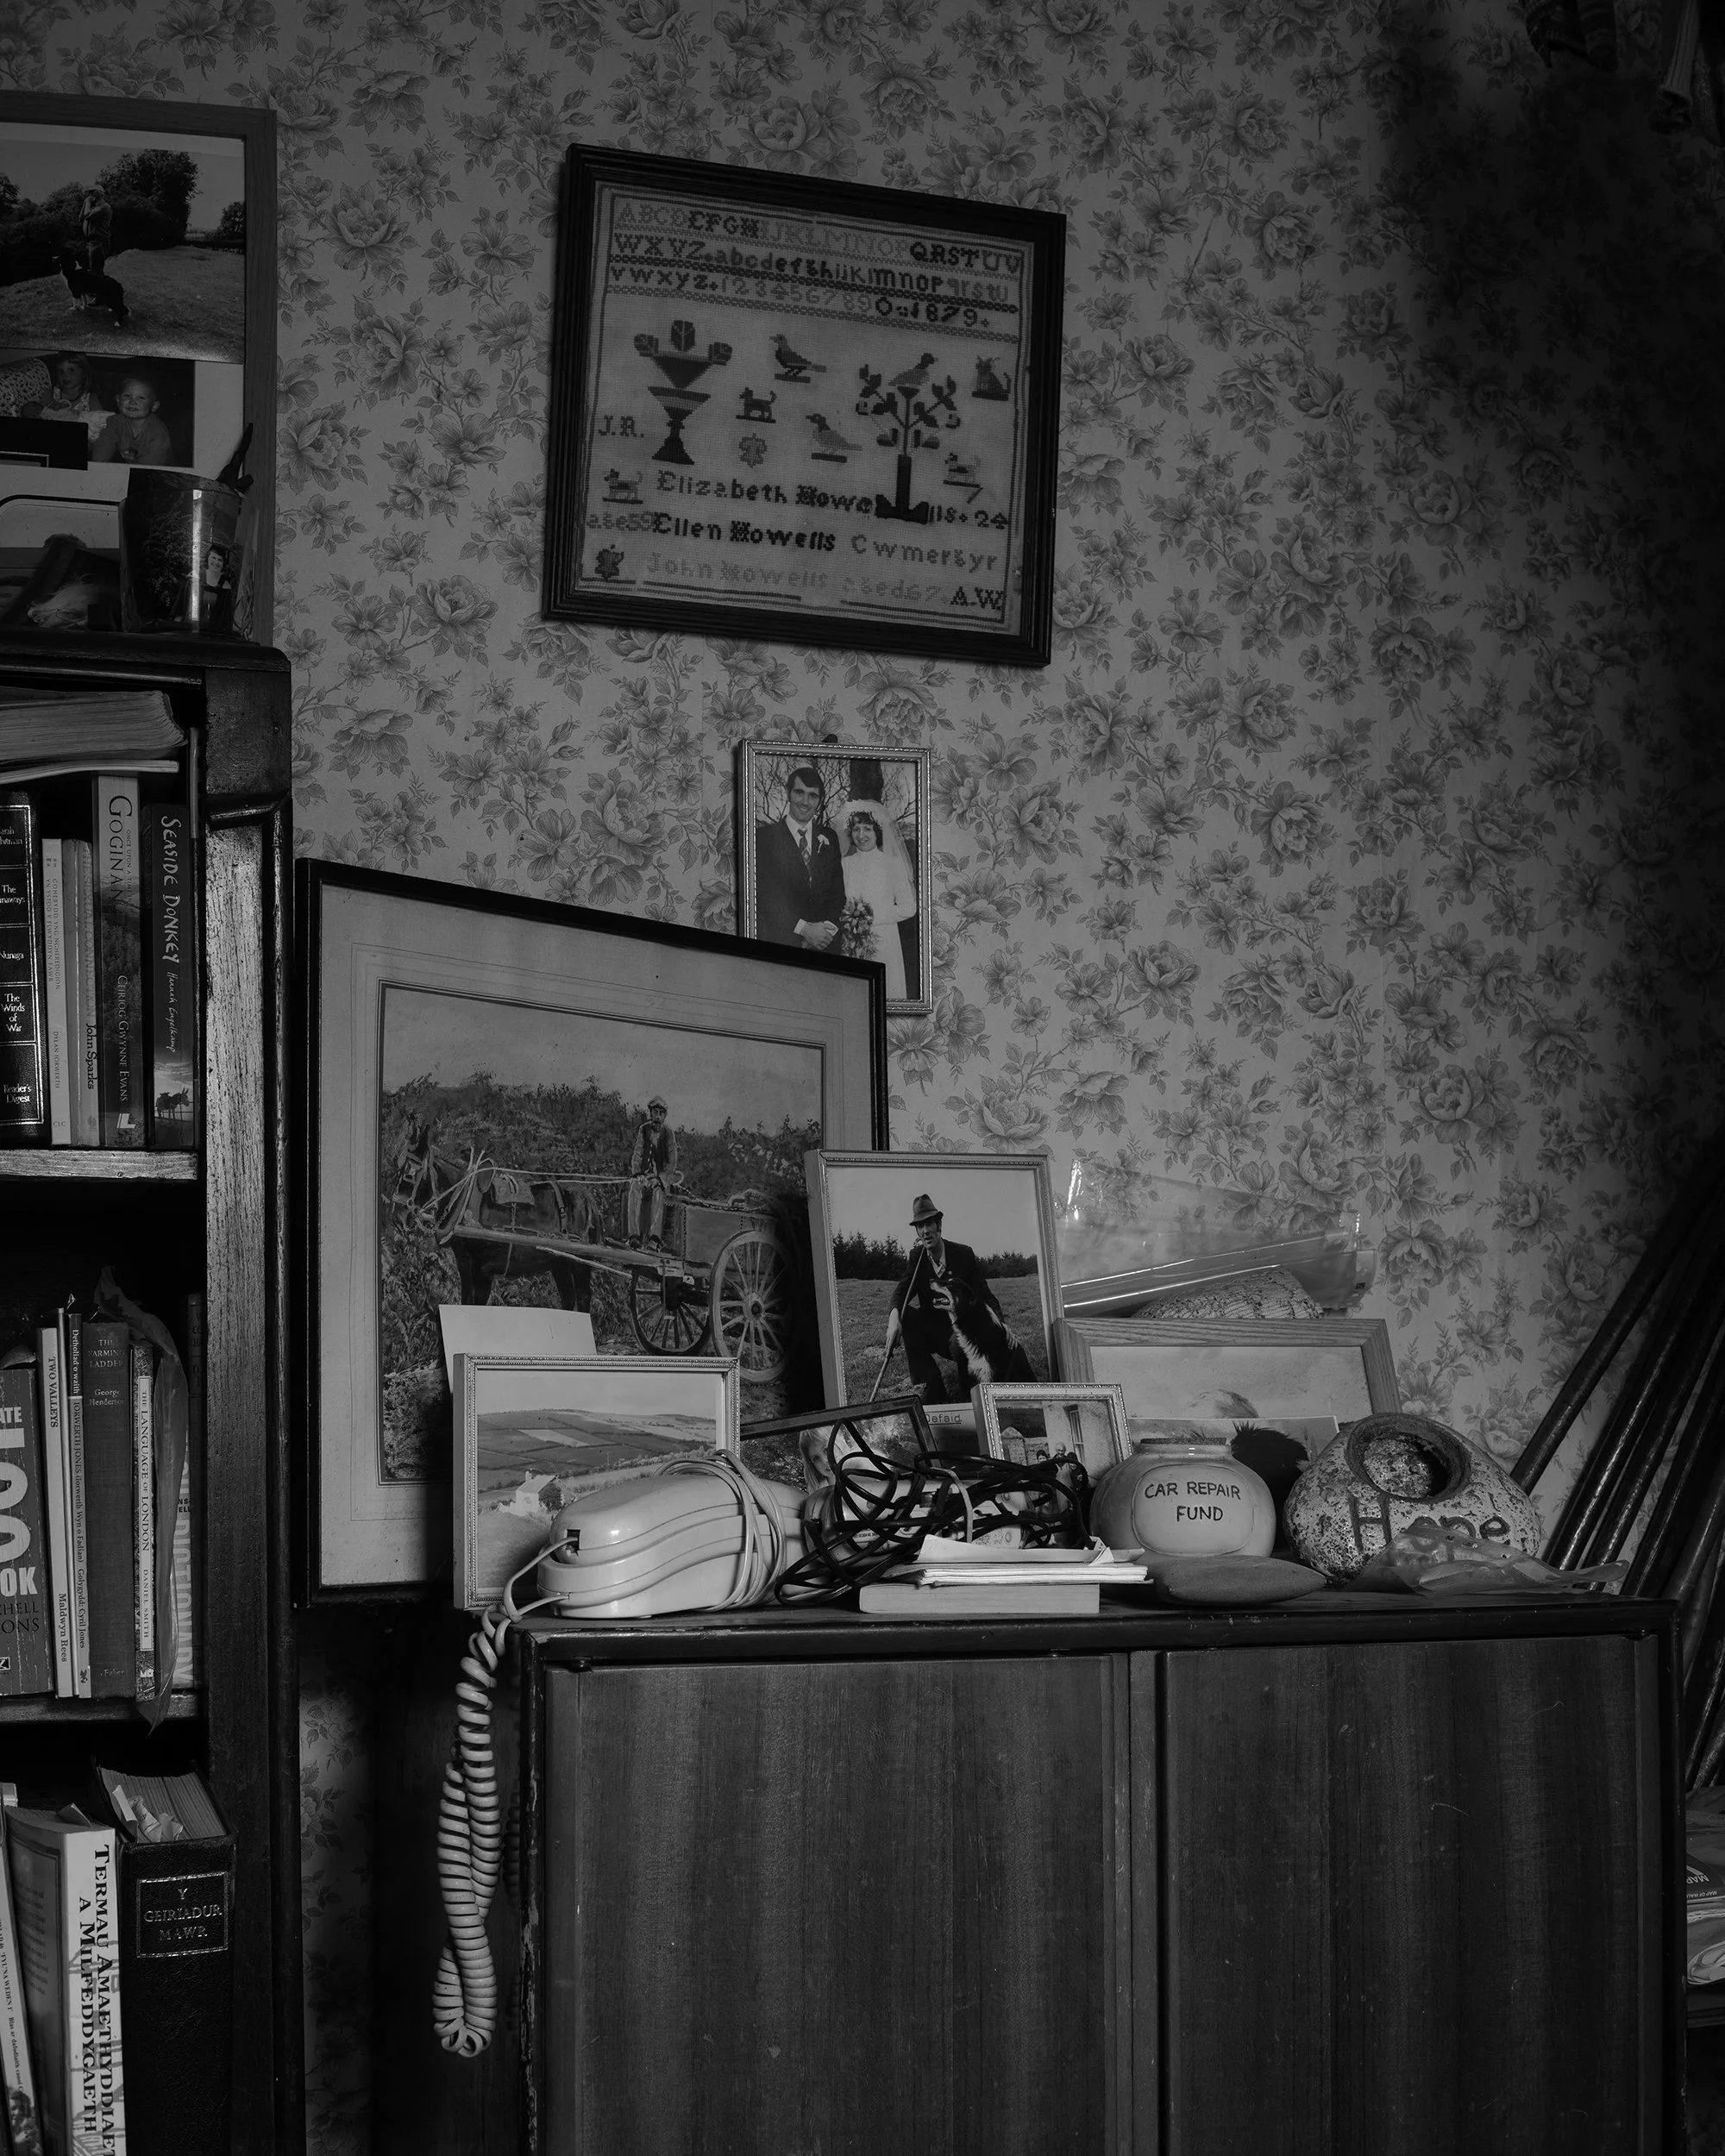
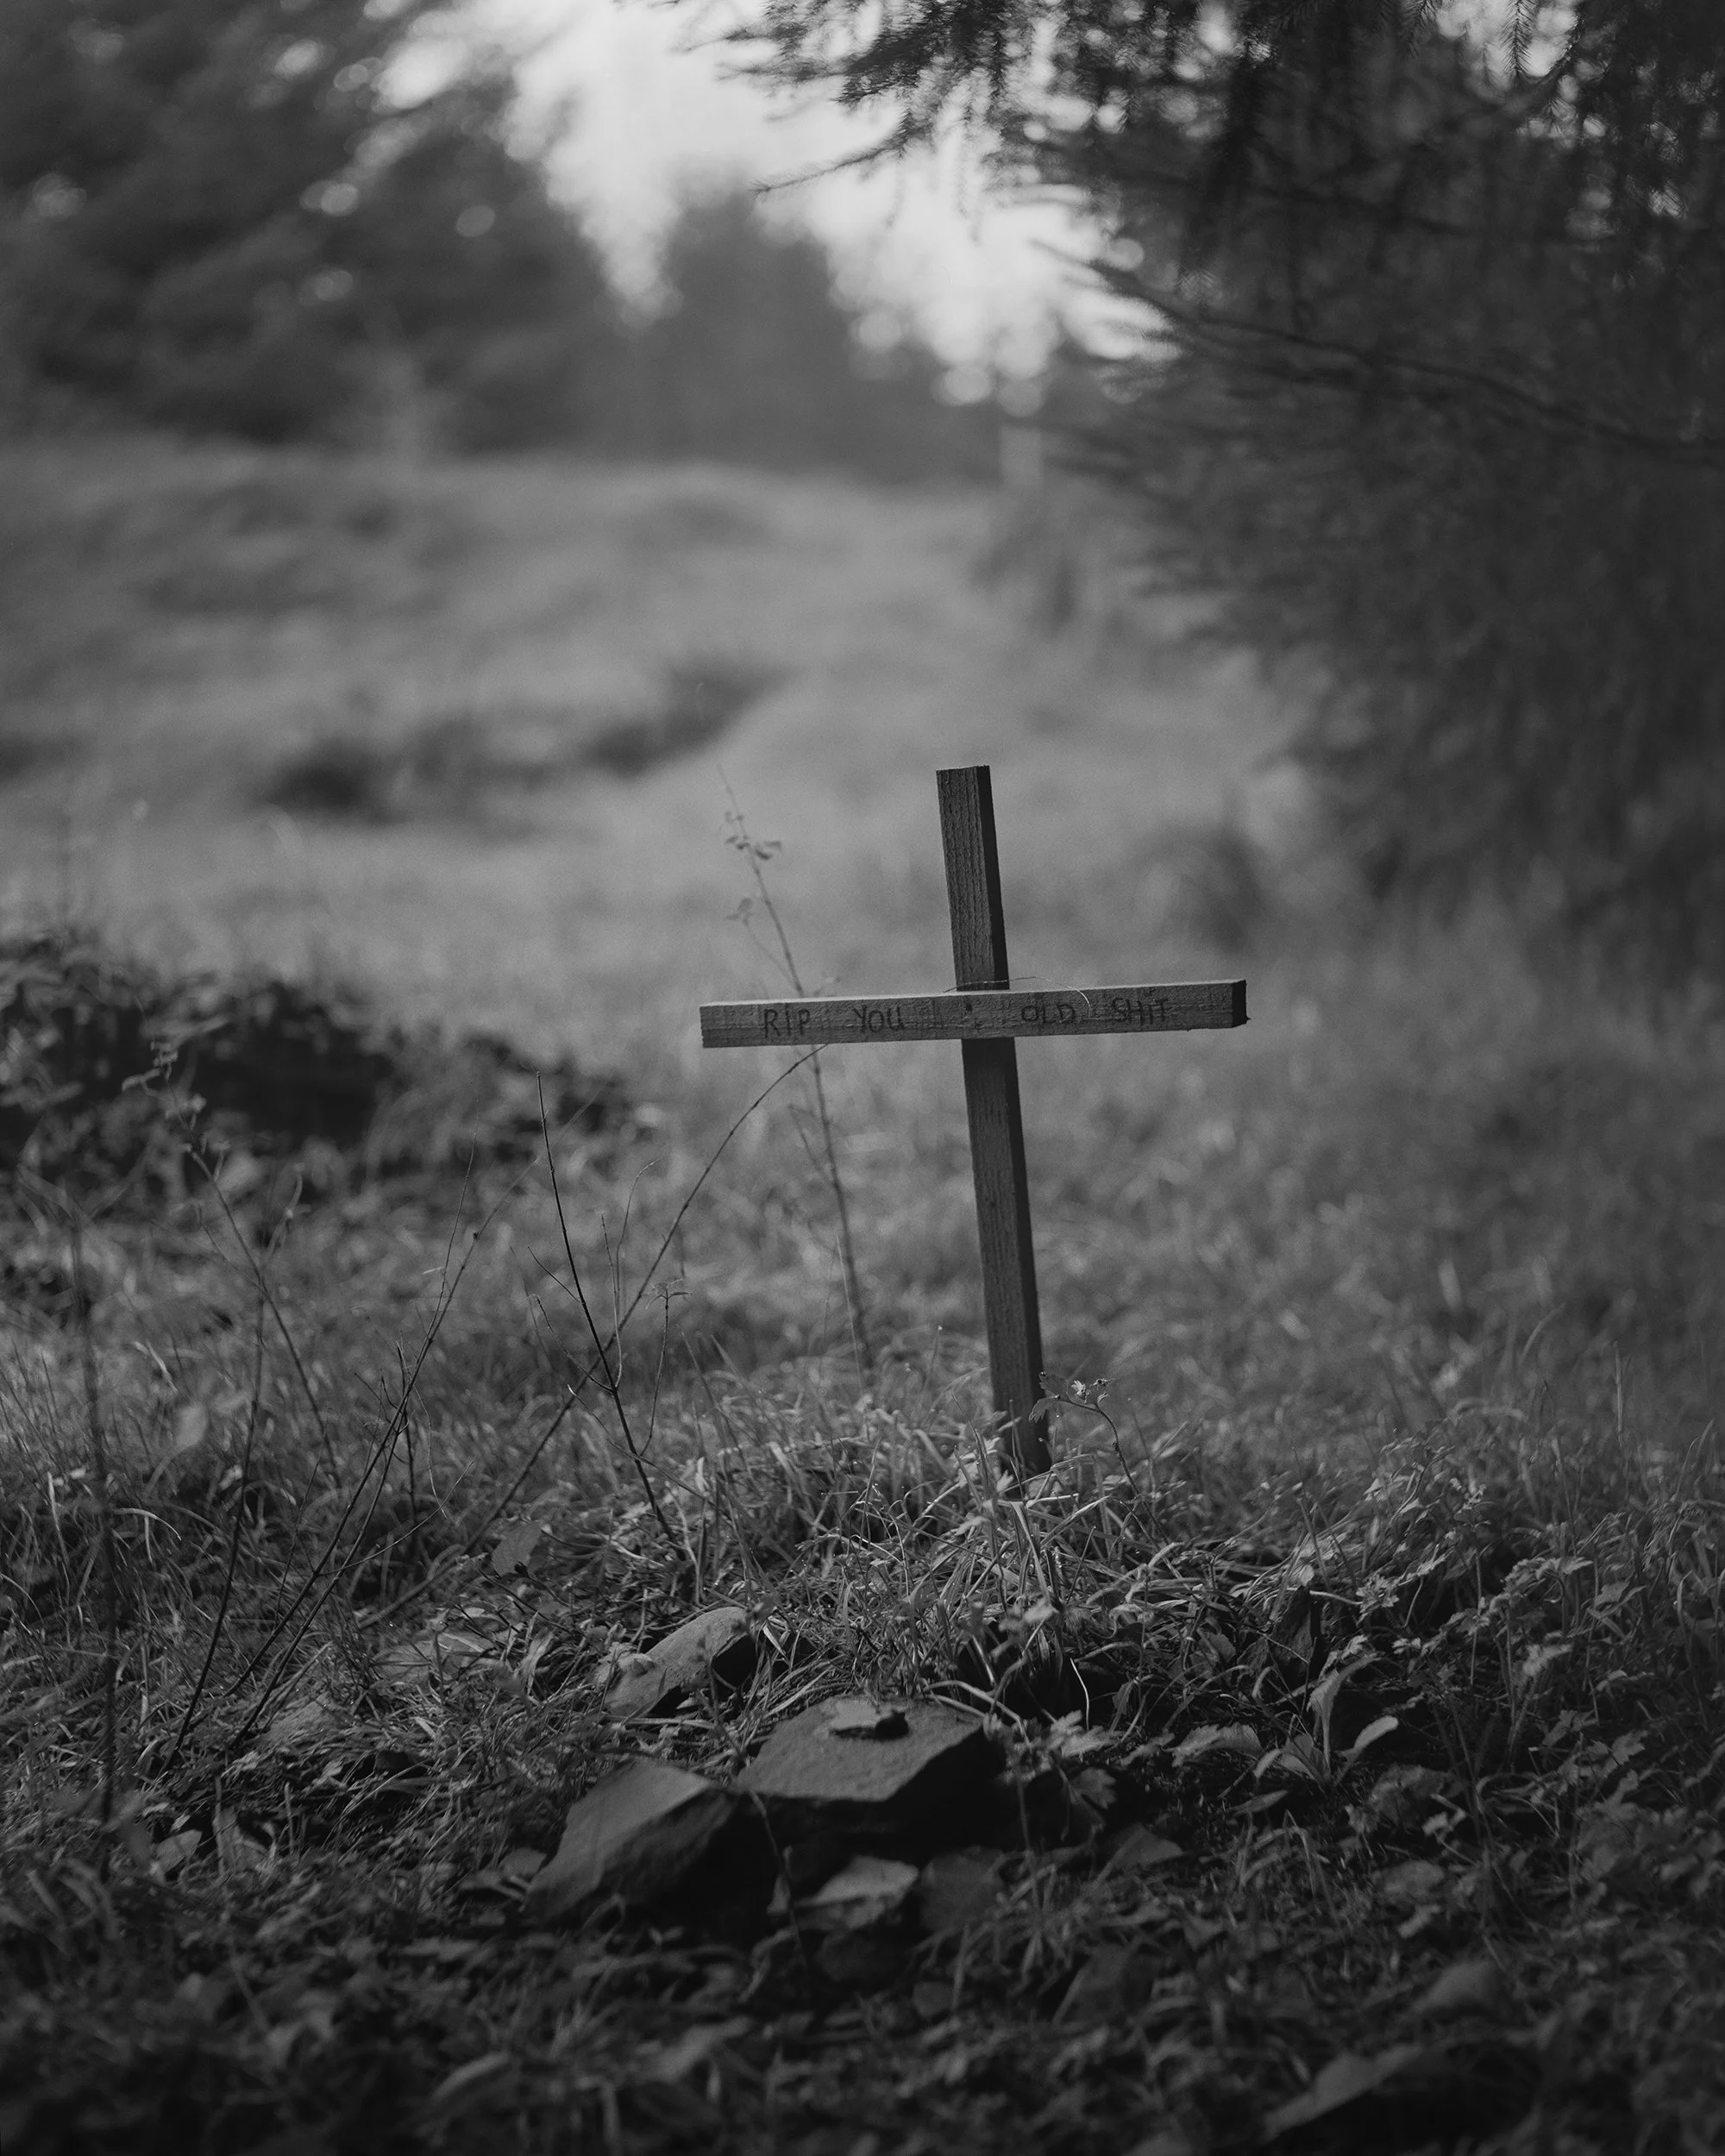
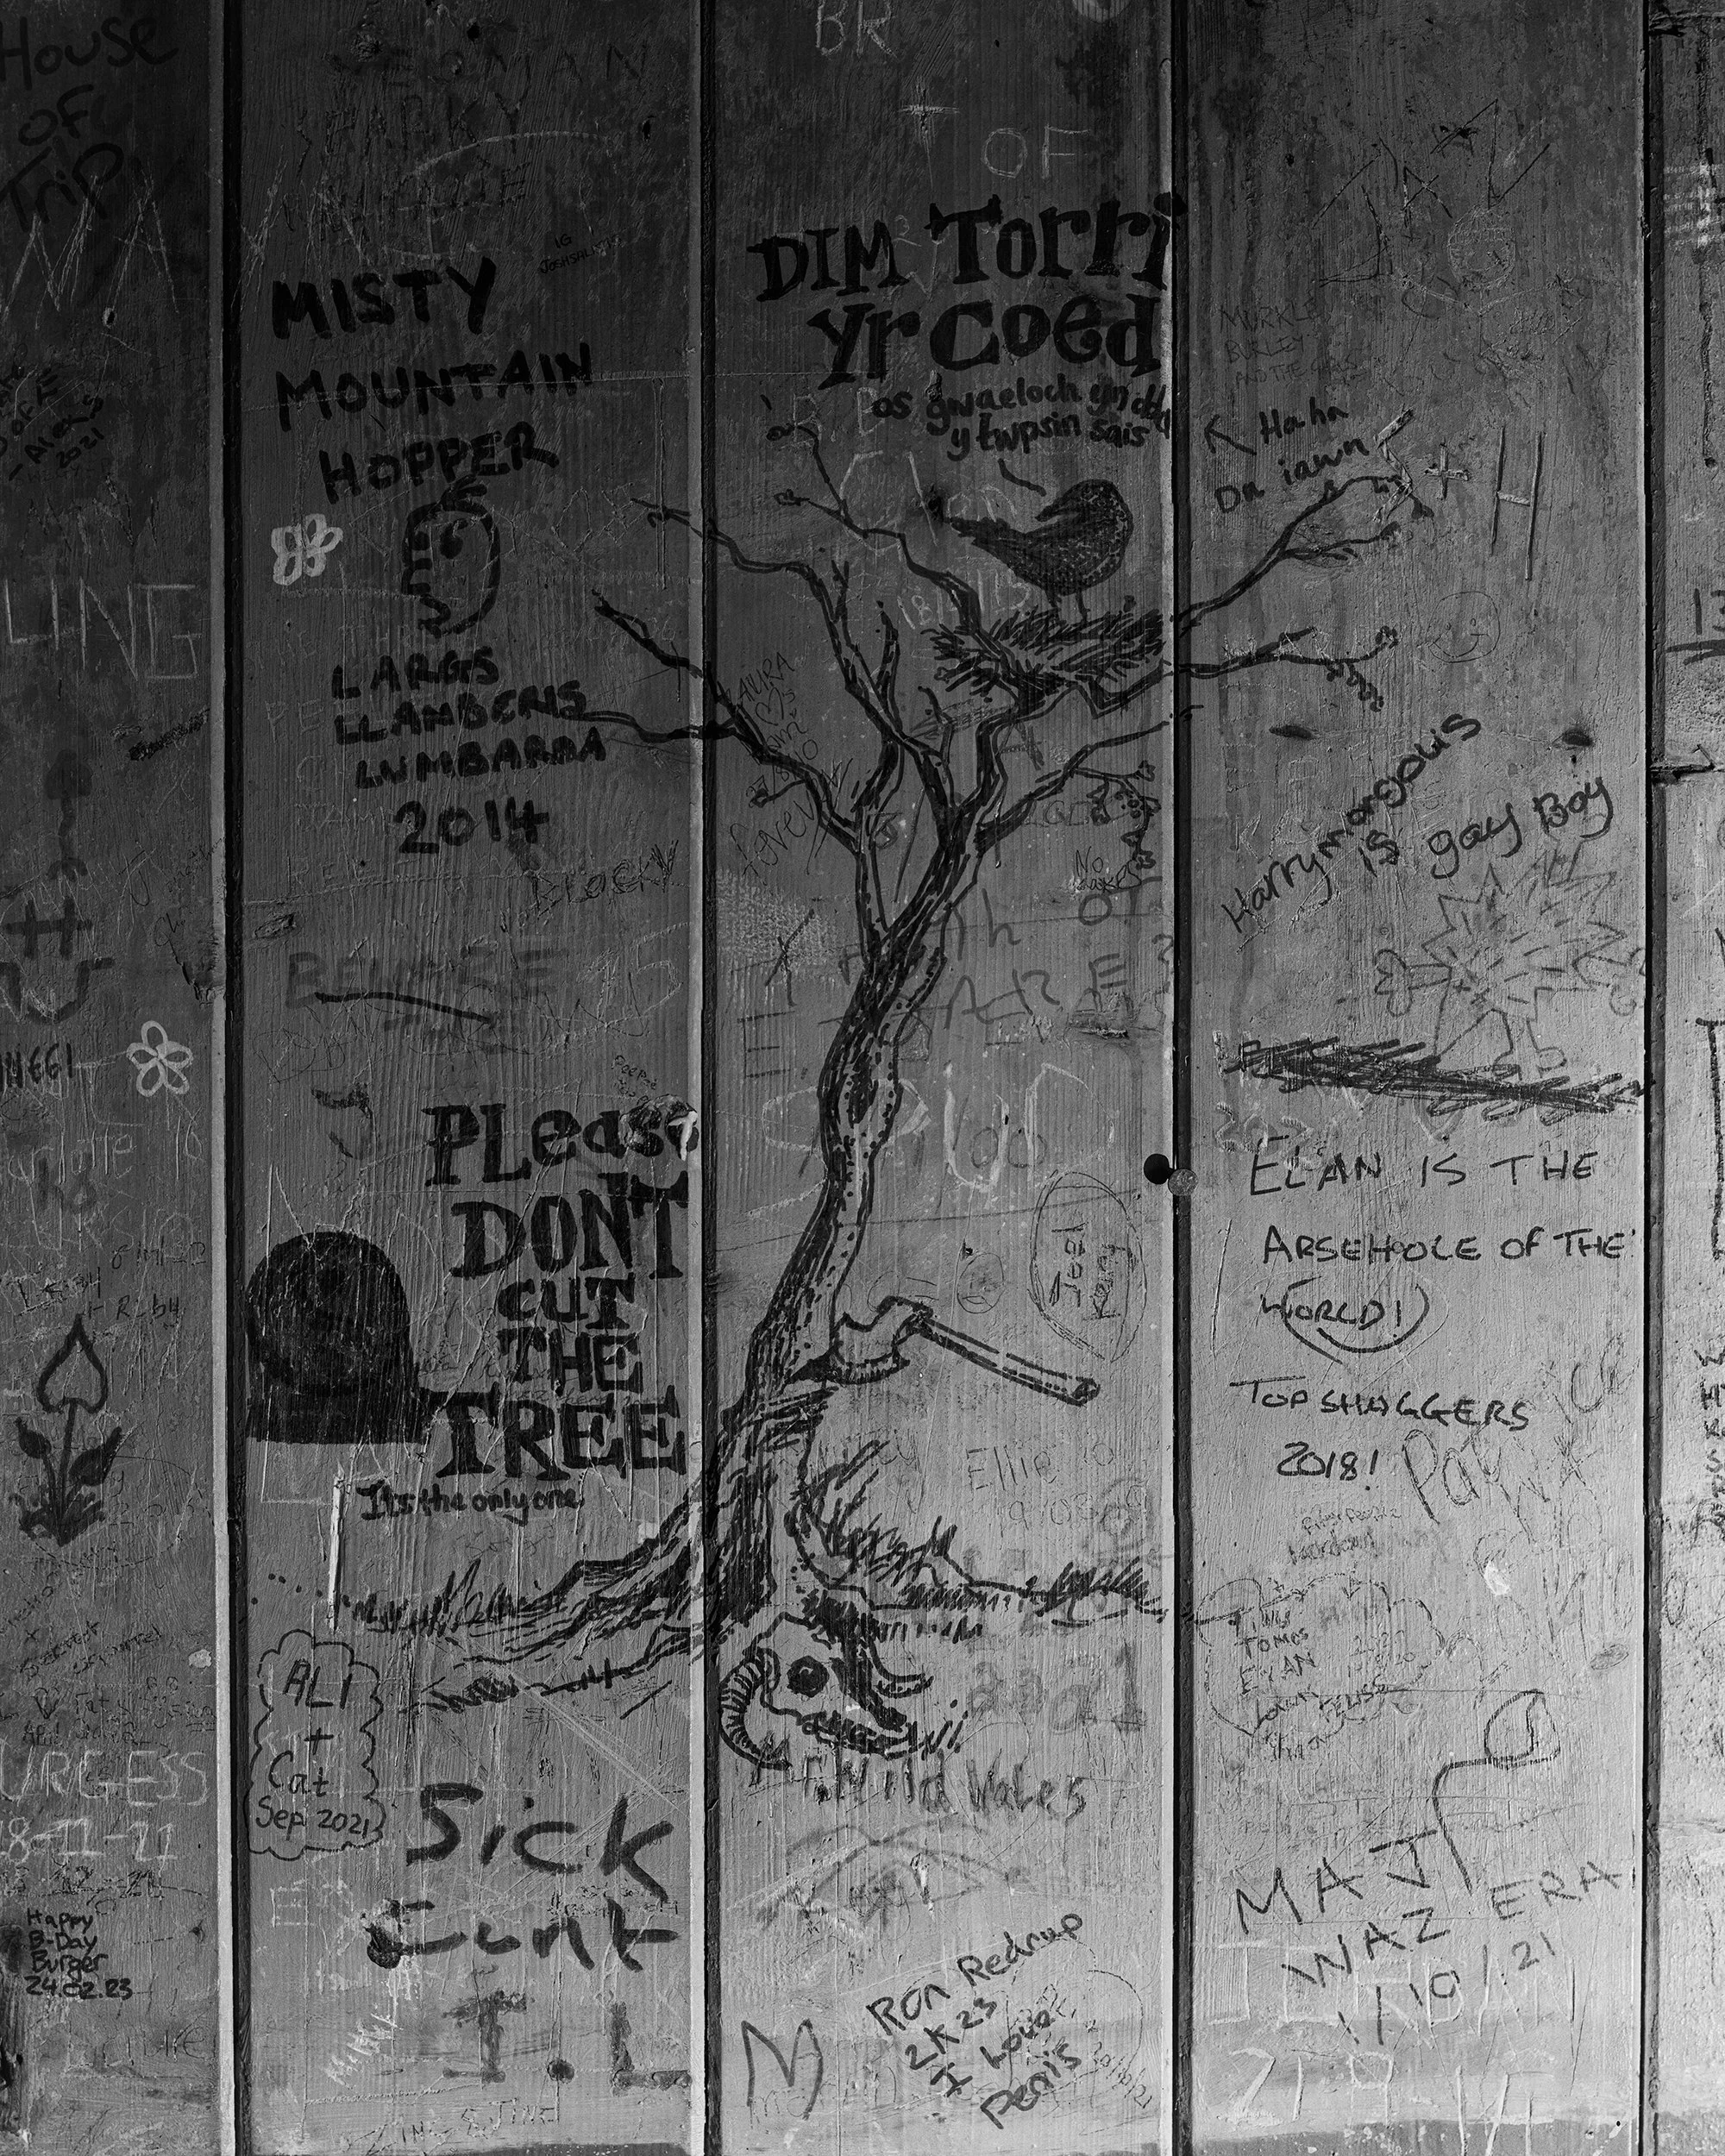
What strikes me most about Desert Green is Ben's restraint. He never editorialises. He never pushes the viewer towards a response. He finds a plain wooden cross in a field at the edge of the plantation, a makeshift grave marker half-hidden in the grass, and he just photographs it. He finds writing on the slatted wooden panels of an abandoned building, names, insults, drawings, a heartfelt plea not to cut the only tree, and he just photographs that too. He lets the place speak, and I think the place has plenty to say.
The project is ongoing, and I hope it continues. This is important work, beautifully made, about a part of Wales and a way of life that deserves to be looked at properly before it's gone entirely.
You can see more of Ben’s work on his portfolio at benlockett.com or follow him on is Instagram gallery here.
© All Rights Reserved | Ben Lockett 2026